


- NEW DVD Series – Stone Setting with Bezels
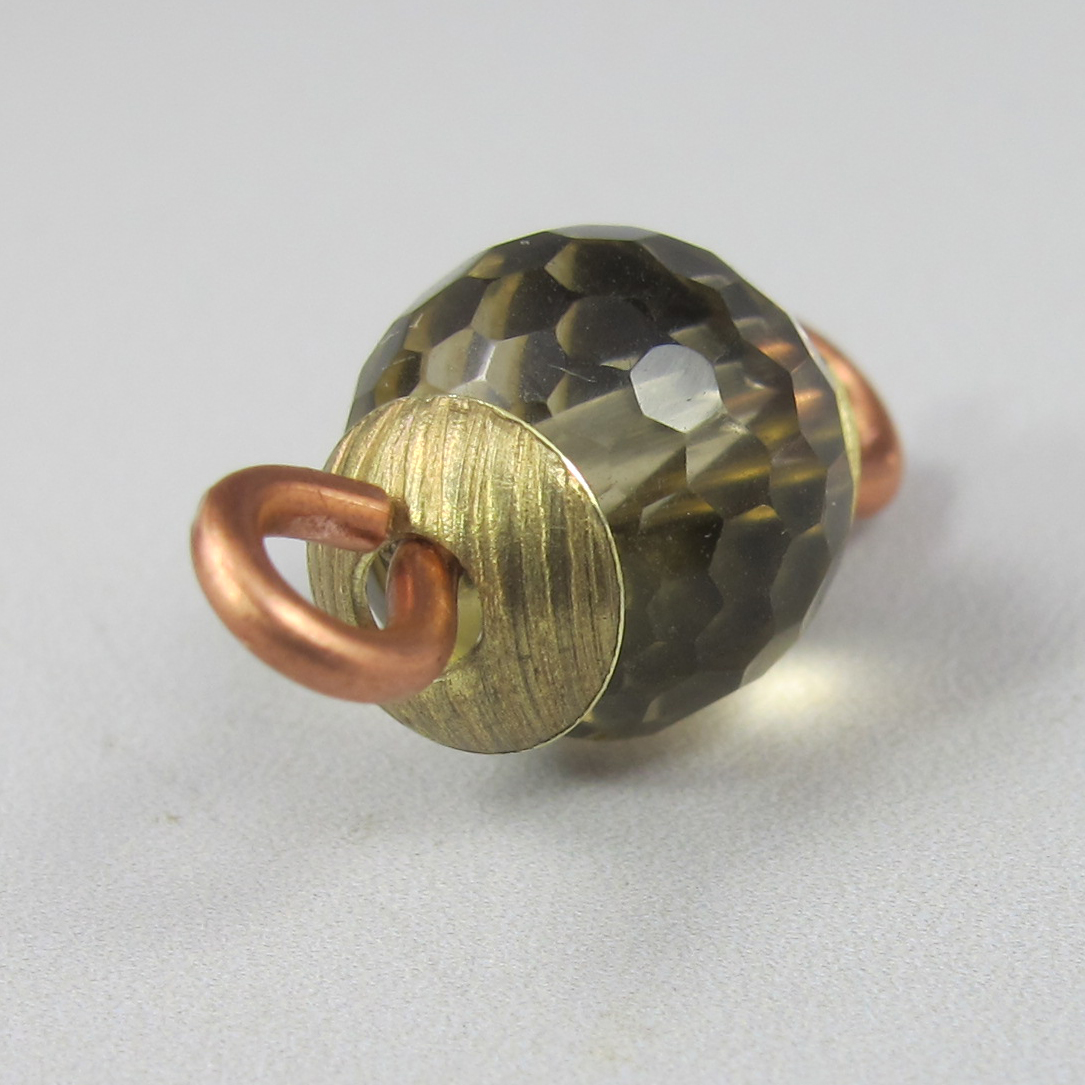
- Tube Set Charm by Kim St. Jean
- Prong Basket Pendant by Kim St. Jean
- NEW DVD Series – Stone Setting with Cold Connections
- New DVD Series – Stone Setting with Wire
- NEW DVD Series: Introduction to Stone Setting by Kim St. Jean
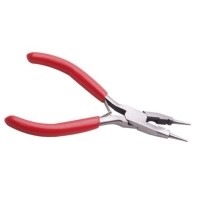
- Featured Tool: Bracelet Bending Plier
- NEW Dvd by Eva Sherman
- Fun, Fast Fold Forming DVD Series
- Double Band Ear Cuff from Alex Simkin
Make Your Own Bead Caps

by Kate Richbourg
December 16, 2013
How to Make Your Own Bead Caps
by Kate Richbourg
Making bead caps are one of my favorite ways to embellish beads and it’s super easy with the right tools. Choose any type of metal, sterling silver, copper and brass all work great with this technique.
Materials:
24-gauge sheet metal
Tools:
Power Punch pliers
1.8mm hole punch pliers
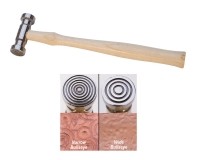
Dapping block
Brass mallet
Bench block (optional)
Texturing hammers (optional)
Cut:
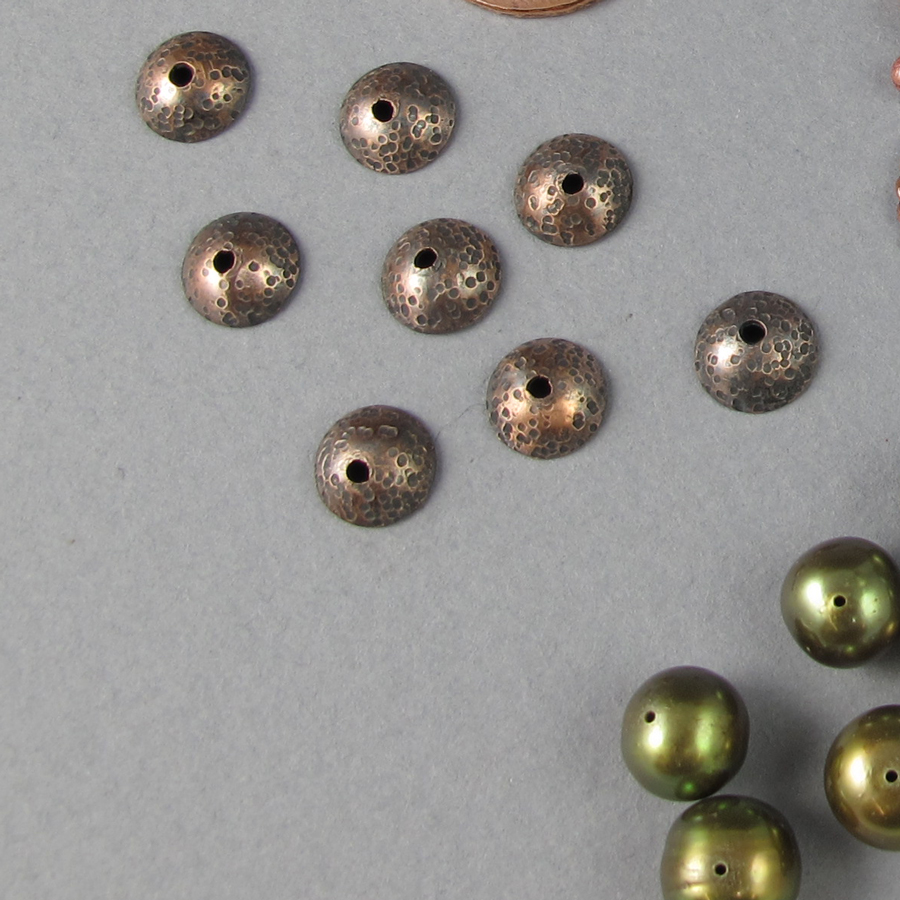
1. Use the largest sized cutter on the power punch pliers to cut discs from the 24-gauge sheet. It cuts discs measuring 9/32″ (.281″ or 7.14mm) perfect for 8-10mm beads. Note that the finished hole size may spread a bit depending on the metal and the force used to shape the cap in the dapping block.
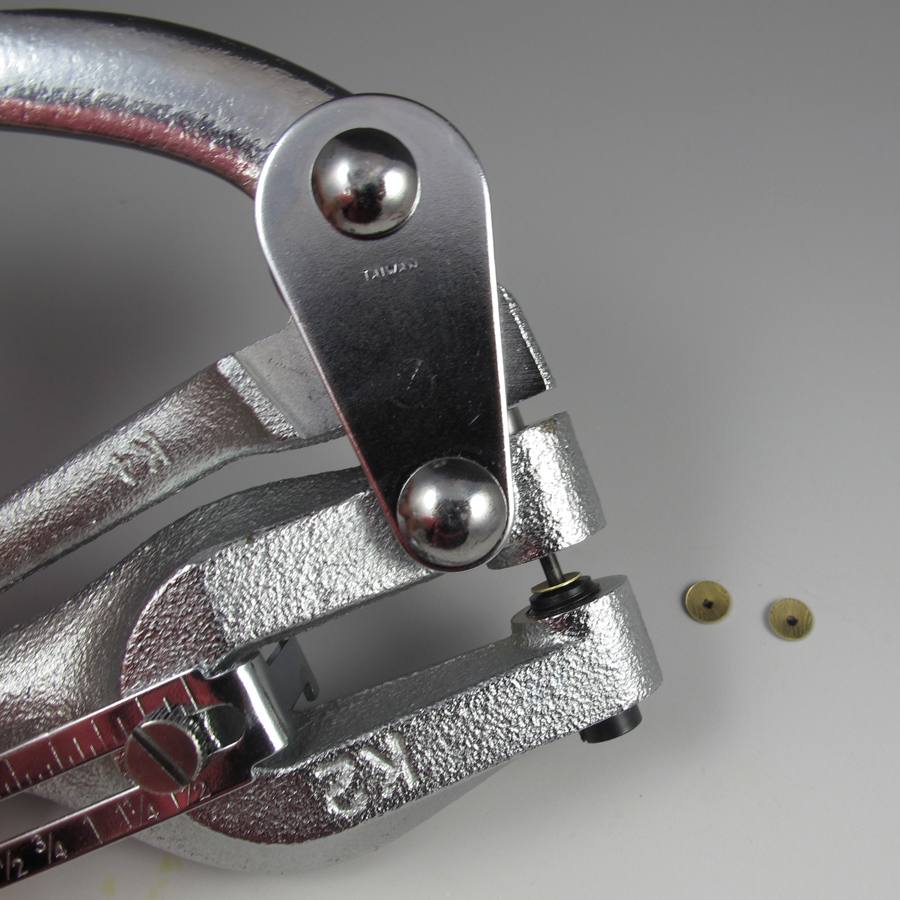
2. Don’t fuss over getting the hole in the exact center, since these caps have an organic look to them, a slightly off-center hole works best in my opinion.
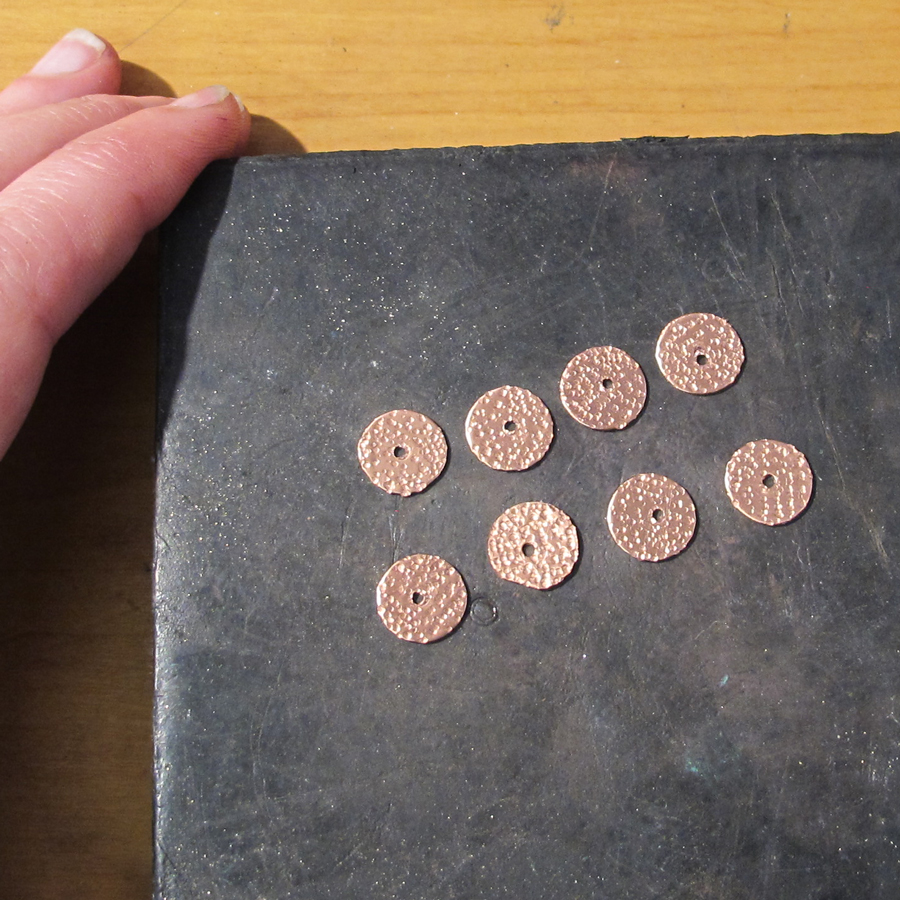
Texture:
3. Texture the discs if desired with texture hammers and bench block. Use a permanent marker to mark placement on the discs for the center hole.
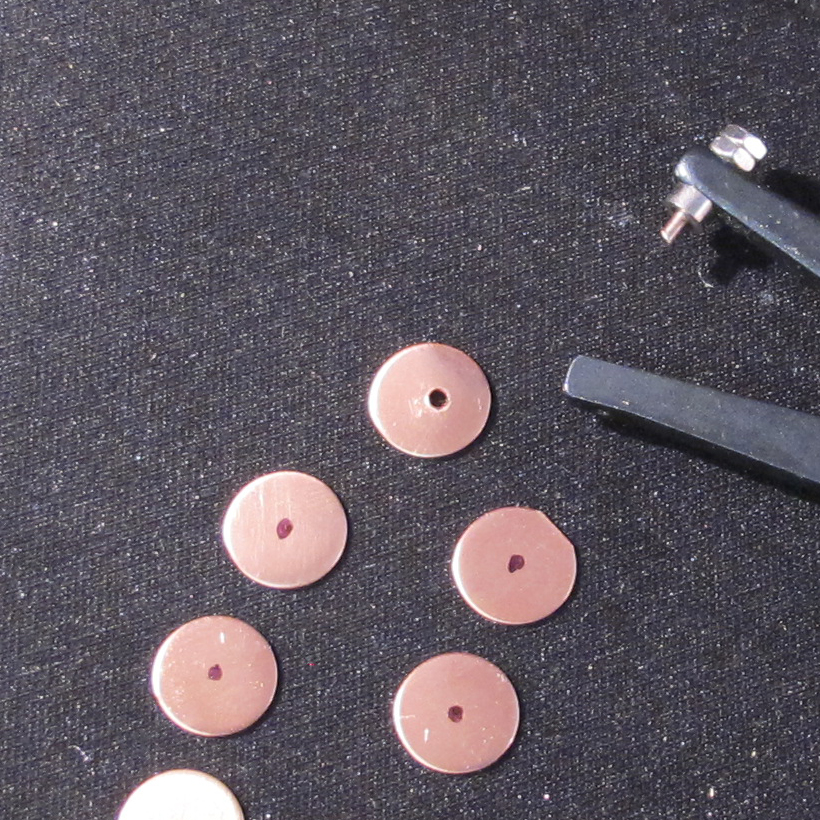
Pierce:
4. Pierce hole using the 1.25mm (18g wire) or 1.8mm (16g wire) hand held hole punch pliers or the 3/32” die (14g wire) that comes with the power punch pliers. Depending on your desired results.

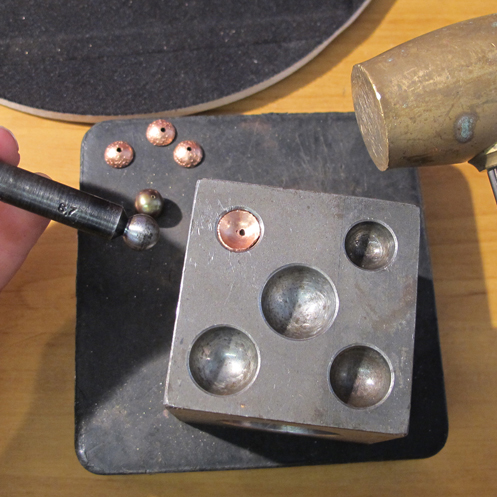
Dap:
5. Place pierced cap right side down in a dapping block. Choose a depression that leaves a bit of room around the piece. Choose a corresponding dap and gently tap the cap into shape with the dap using a brass mallet. Check the fit against the bead and continue to curve the cap using a smaller depression and dap until you are pleased with the fit. Repeat until all discs are complete. Oxidize and polish if desired.
Create:
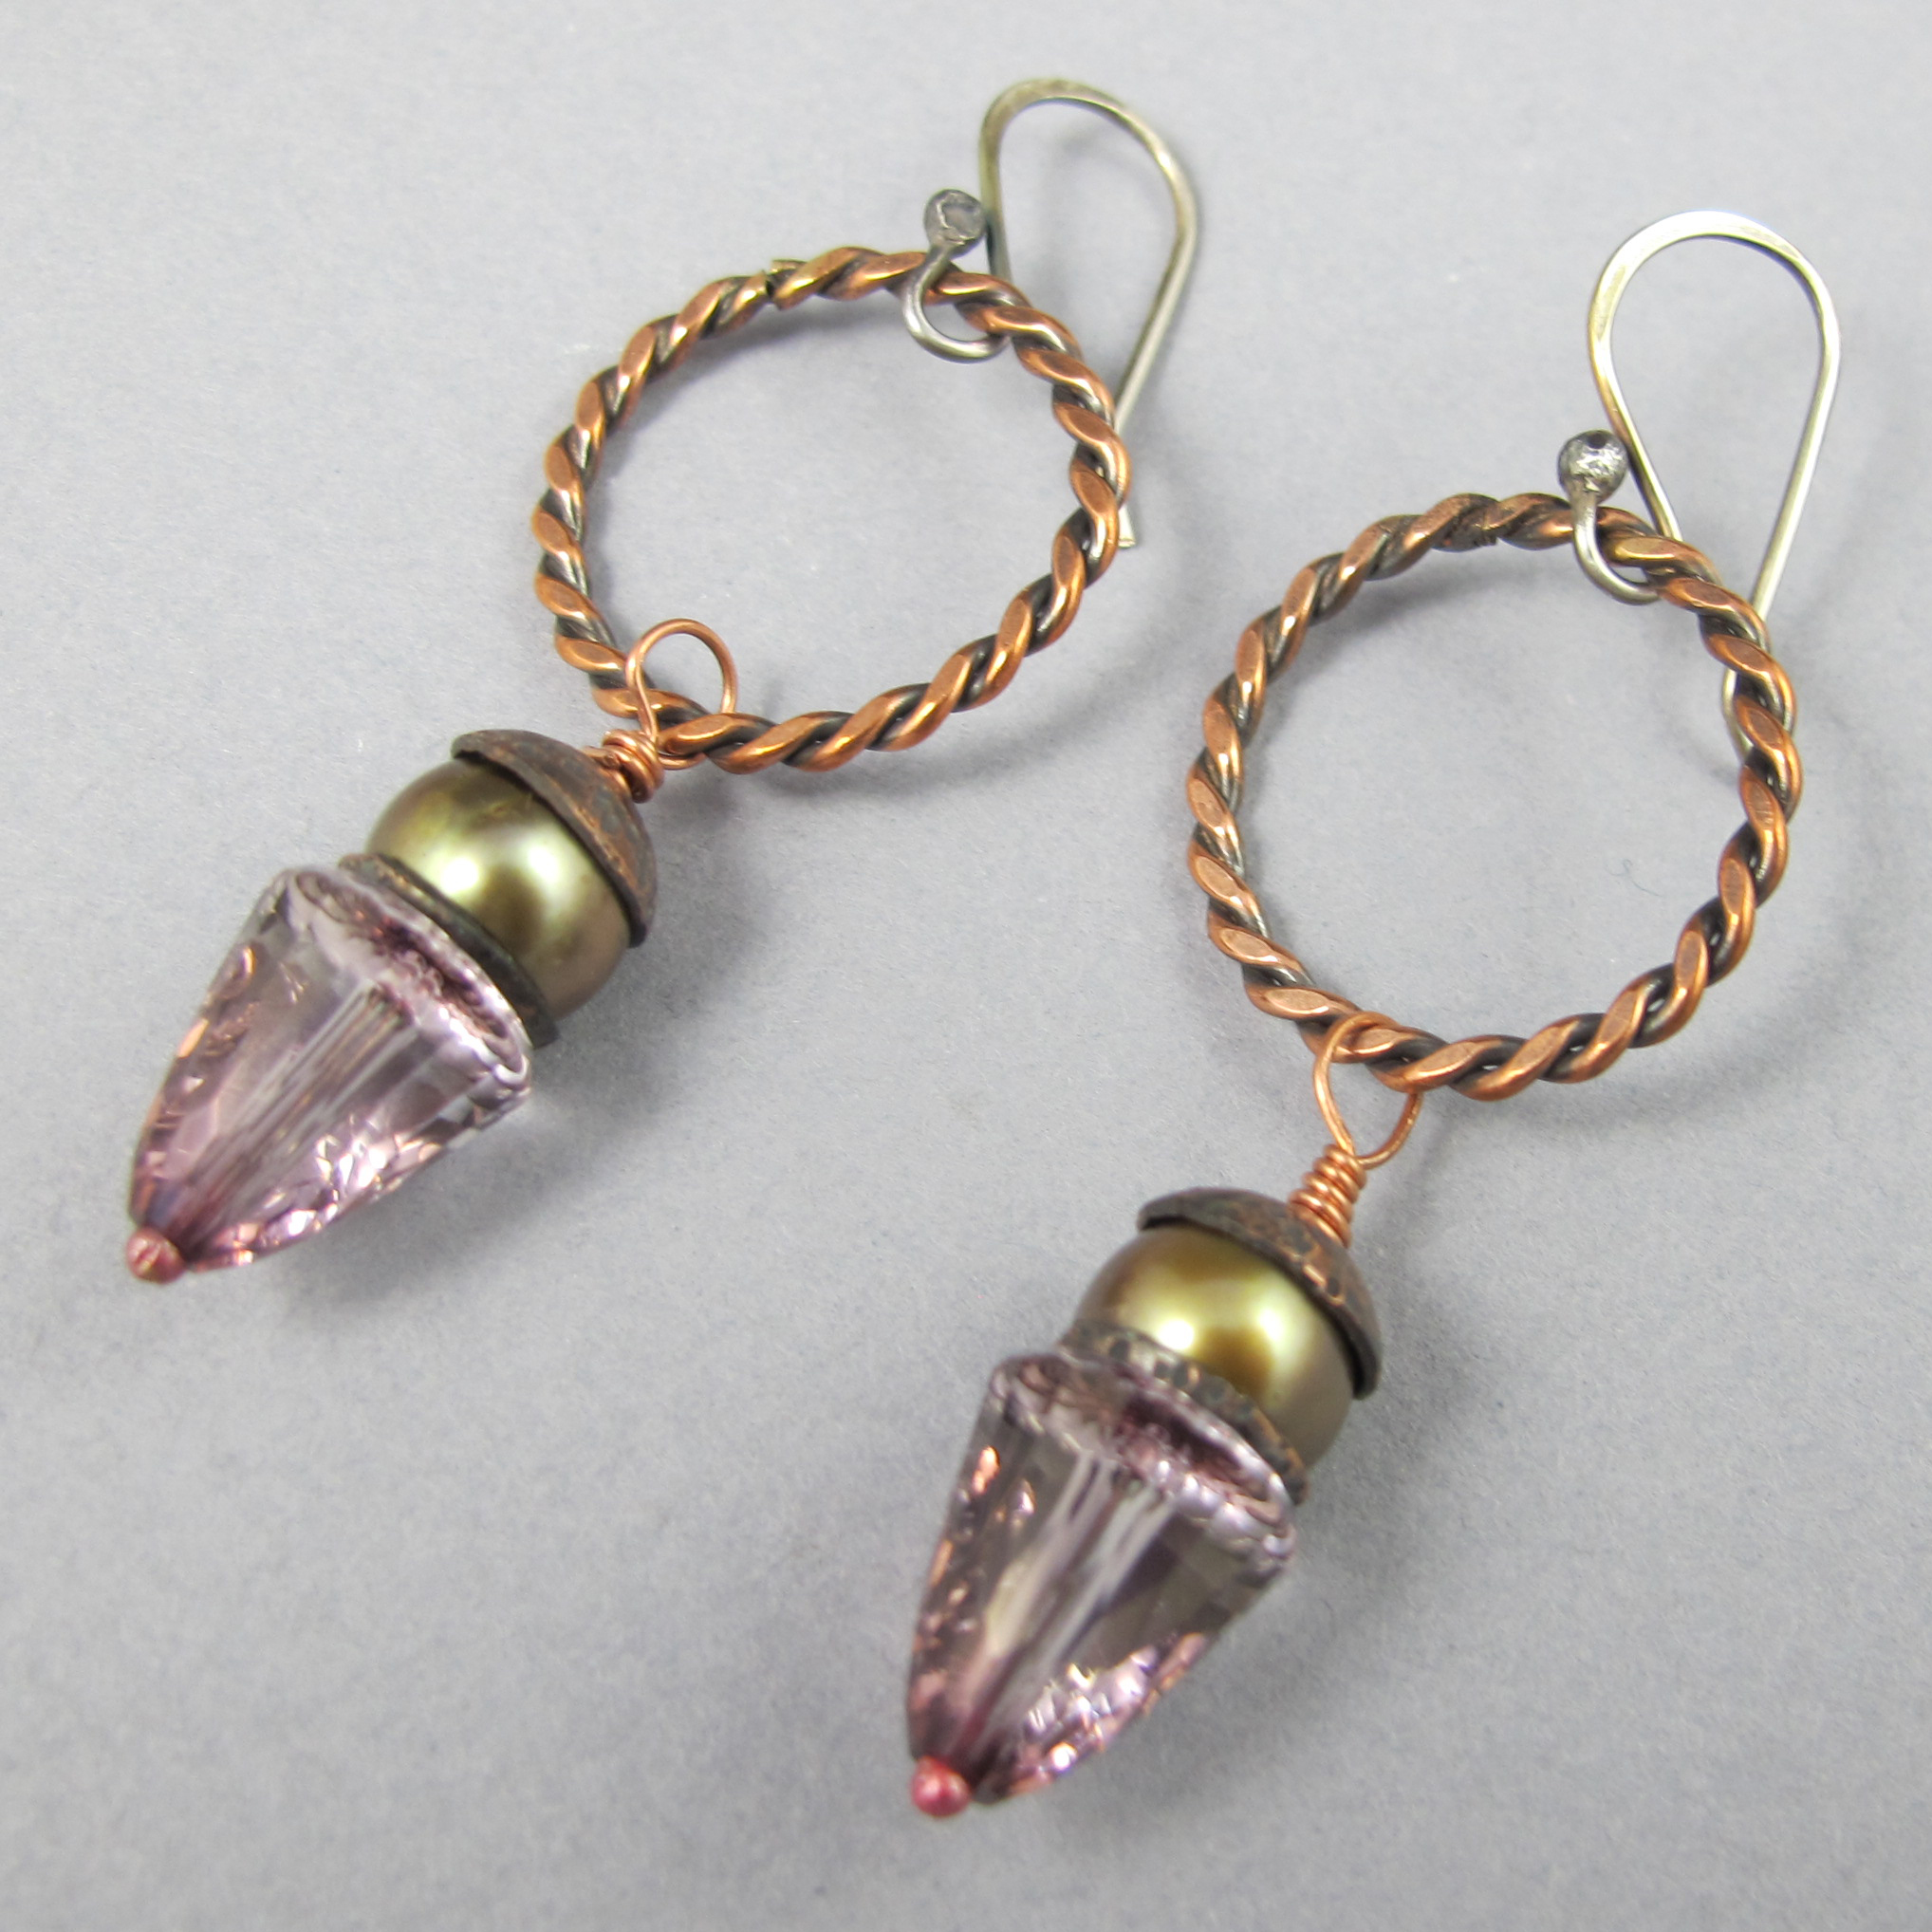
6. I use these caps on earrings as well as when I string beads to highlight special beads in the design. I especially like how they look with metallic-finish freshwater pearls. The contrast between the hard metal and soft pearl is a favorite look.
Click to Receive Daily Tips by Email
Related Posts

5 Comments

Wire Jewelry Ideas
-
 See Yourself as a Creative Thinker-Part IV By Karen Meador, PhD
Wire Jewelry Article for September 27th, 2017 If...
- September 27, 2017
-
 See Yourself as a Creative Thinker-Part III By Karen Meador, PhD
Wire Jewelry Article for September 20th, 2017 If...
- September 20, 2017
-
 See Yourself as a Creative Thinker-Part II By Karen Meador, PhD
Wire Jewelry Article for September 13th, 2017 If you...
- September 13, 2017
-
 See Yourself as a Creative Thinker By Karen Meador PhD
Wire Jewelry Article for September 6th, 2017 This is...
- September 6, 2017

Design & Inspiration
-
 Free Pattern: Smile Cluster Necklace by Karen Meador
by Judy Ellis, Wirejewelry.com Wire Jewelry Pattern for August...
- August 7, 2017
-
 Free Pattern: Long crystal round maille earrings by Kylie Jones
by Judy Ellis, Wirejewelry.com Wire Jewelry Pattern for August...
- August 3, 2017
-
 Free Pattern: Stone Twist Wrap by Karen Meador
by Judy Ellis, Wirejewelry.com Wire Jewelry Pattern for July...
- July 31, 2017
-
 Free Pattern: Floating Bead Earrings By Kimberly Newman
by Judy Ellis, Wirejewelry.com Wire Jewelry Pattern for July...
- July 27, 2017
Featured Tools
-
 Get to Know Your Hand Tools – Tube-Cutting Jig By Helen I. Driggs
by Judy Ellis, Wirejewelry.com Wire Jewelry Tip for August...
- August 4, 2017
-
 Wire Jewelry Video: Using Punch Pliers by Judy Freyer Thompson
by Judy Ellis, Wirejewelry.com Wire Jewelry Tip for August...
- August 2, 2017
-
 Wire Jewelry Video: Aligning a Hole Punch by Judy Freyer Thompson
by Judy Ellis, Wirejewelry.com Wire Jewelry Tip for July...
- July 26, 2017
-
 Get to Know Your Hand Tools – Wire Cutters – Helen I. Driggs
by Judy Ellis, Wirejewelry.com Wire Jewelry Tip for July...
- July 25, 2017
Maretta
December 16, 2013 at 9:33 am
This was a welcome article. I had been looking for this. I also will try to make with polymer clay mix with gold leaf. Now, how to make / cut flower shape caps. Any ideals?
Thanks again.
Deborah
December 16, 2013 at 12:28 pm
This was the best lesson. I have been trying to figure out how to make my own bead caps an you, as always, had the solution. Thank you.
Fay
December 16, 2013 at 4:29 pm
This is great, I was looking for how to make my own gem post style ear-rings, no glue and the gem is a bead. Back to the drawing board. Now I will be looking to purchase more tools. Thank You.
beverly
December 18, 2013 at 11:00 pm
Wow! You always come through with something I needed but didn’t realize it. I have been using dapped disks in my enameling work and there it front of me was the bead caps I have been seeking for other projects. So easy and doable now with this tute, I’m truly amazed it did not cross my mind before. I can count on this site to open new avenues of techniques that are invaluable to me and I’m sure many others. Thanks for all the insights given. BeBeaz
Johnnie
January 19, 2014 at 11:11 am
These will be a great use for my stash of left-over cuts from my etched pieces….just couldn’t trash them, and now I’m glad I didn’t!