
Happy Holly Days Wreath Ornament
- Category: Holiday Designs
- Technique(s): Butane Torch Techniques, Twisting
- Skill Level: Beginner
Wreaths are one of the most popular Holiday decorations. A grape vine wreath base can be decorated for different holidays and seasons year-round and is one of my favorites. This simple grape vine wreath is easy to make and sure to be cherished for years to come.
Materials

18 Gauge Round Half Hard Argentium .940 Silver Wire
H19-18H
- Lesson Quantity: 7.00 feet
- Purchase Quantity: 1.00 10FT
- Price: $51.20
- Gold Club Price: $38.40

24 Gauge Dead Soft Argentium Silver Sheet - 6 Inches
H19-24SM6
- Lesson Quantity: 1.00 pieces
- Purchase Quantity: 1.00 1 Inch
- Price: $48.95
- Gold Club Price: $36.71
Tools

Jewelers Saw with Adjustable Frame without Blade
G18-3
- G18-3
- Lesson Quantity: 1.00 pieces
- Purchase Quantity: 1.00 each
- Price: $12.97
- Gold Club Price: $9.73

C.H.P Milano Italian Flush Cutter, 5 1/2 Inches
PLR-487.00
- PLR-487.00
- Lesson Quantity: 1.00 pieces
- Purchase Quantity: 1.00 each
- Price: $16.97
- Gold Club Price: $12.73

Round Nose Wire Pliers
G2-507
- G2-507
- Lesson Quantity: 1.00 pieces
- Purchase Quantity: 1.00 each
- Price: $32.95
- Gold Club Price: $24.71

Chain Nose Wire Pliers
G2-508
- G2-508
- Lesson Quantity: 1.00 pieces
- Purchase Quantity: 1.00 each
- Price: $32.95
- Gold Club Price: $24.71

6 Step Barrel Plier - Pack of 1
G2-503
- G2-503
- Lesson Quantity: 1.00 pieces
- Purchase Quantity: 1.00 each
- Price: $18.95
- Gold Club Price: $14.21

7 Holes Metal Punch Kit- 2.38mm to 7.14mm - Pack of 1 Kit
G15-8
- G15-8
- Lesson Quantity: 1.00 pieces
- Purchase Quantity: 1.00 each
- Price: $54.95
- Gold Club Price: $41.21

Economy Nylon Jaw Pliers
G2-25
- G2-25
- Lesson Quantity: 1.00 pieces
- Purchase Quantity: 1.00 each
- Price: $11.97
- Gold Club Price: $8.98

WET/DRY PAPER 9 x 11, 400grit- PK/10
ABR-500.25
- ABR-500.25
- Lesson Quantity: 1.00 pieces
- Purchase Quantity: 1.00 each
- Price: $12.95
- Gold Club Price: $9.71

Round Hard Wood Bracelet Mandrel - 15 Inches
G7-33
- G7-33
- Lesson Quantity: 1.00 pieces
- Purchase Quantity: 1.00 each
- Price: $14.97
- Gold Club Price: $11.23

Blazer GB4001 Stingray Torch, Black
TRCH-4001
- TRCH-4001
- Lesson Quantity: 1.00 pieces
- Purchase Quantity: 1.00 each
- Price: $49.95
- Gold Club Price: $37.46

Starter Jewelry Soldering Kit
G32-STARTER
- G32-STARTER
- Lesson Quantity: 1.00 pieces
- Purchase Quantity: 1.00 each
- Price: $79.95
- Gold Club Price: $59.96
Instructions
Step 1
Read through the tutorial before starting the project. Follow all safety precautions for the space you are working in as well as all safety precautions pertaining to the tools and supplies you will be using to complete the project.
Scale the Holly Leaves templates to the desired size. Print the templates on paper to glue to sheet metal, which is the method used here, or cut out a plastic template or stencil for tracing on metal with an ultra-fine point retractable Sharpie marker. These leaves must be cut with a saw. If a sawing setup is not available, Holly Leaves Patterns B1, B2, B3, and B4 from the Happy Holly Days Leaves and Berries tutorial can be cut with metal shears.
Scale the Holly Leaves templates to the desired size. Print the templates on paper to glue to sheet metal, which is the method used here, or cut out a plastic template or stencil for tracing on metal with an ultra-fine point retractable Sharpie marker. These leaves must be cut with a saw. If a sawing setup is not available, Holly Leaves Patterns B1, B2, B3, and B4 from the Happy Holly Days Leaves and Berries tutorial can be cut with metal shears.

Step 2
Glue the templates to sheet metal and cut the pieces out using a saw.

Step 3
Flip one of each leaf size over to make mirror images. Follow Steps 4 through 12 in HOLLY LEAVES AND BERRIES to stamp and texture the leaf sections.

Step 4
Follow Steps 14 through 17 in HOLLY LEAVES AND BERRIES to make a LARGE BALL BERRY TRIO. Make three silver balls by melting the following for each ball: 1.31 grams of silver scrap, 3¾" of 18 gauge wire, or two 18 gauge 13mm ID jump rings.


Step 5
Place a small amount of medium paste solder on the lower inner edge of the larger leaves-upper leaves in the photo. Press the smaller leaves into the solder making sure the small leaves do not cover the midrib on the larger leaves-lower leaves in the photo. Heat until the solder flows. Allow the pieces to cool before going on to the next step.

Step 6
Move the left and right leaf sections together so the lower edges of the small leaves touch and the midrib lines of the larger leaves are more or less in a straight horizontal line. Place medium paste solder on the leaf sections and the back of the triple berry section as shown. Center the triple berry right side up on the leaves and press into place. Heat the piece until the solder flows. Allow the piece to cool naturally.

Step 7
Use an ultra-fine point retractable Sharpie marker to draw a line around the bracelet mandrel where the diameter is approximately 2¼".

Step 8
Approximately 6½ feet of Argentium 18 gauge round wire is used to make the wreath. It would be best, however, to work from the coil to make sure that too much or too little wire isn't cut. Starting 7 inches in from the wire coil end, make a loop on Step 4 or 5 of the 6 step barrel pliers.


Step 9
Place the loop on the line drawn on the mandrel. Wrap the wire from the coil around the mandrel eight times, four above and four below the loop.

Step 10
Remove the wire bundle from the mandrel. Cut the bundle away from the coil, leaving a 7 inch tail. Wrap the wire tails around the wire bundle, wrapping on either side of the loop towards the center bottom. If there is excess wire, it can be used in a later ornament project but don't trim it yet. If the wreath is misshapen from wrapping, push it down the bracelet mandrel to re-round it.


Step 11
Center the finished leaf and berry unit on the bottom of the wreath. There should not be a lot of wrapped wire under it. Too many wire wrapped bumps will make a solder connection a bit weaker. Adjust the number of wraps. Cut the excess wire away. Tuck the wire tails into the wire bundle at the bottom of the wreath.


Step 12
Use round nose and chain nose pliers to make bends and twists in the wrapped wire as well as the base wires on the front side of the wreath. The wire tails should end up between the wires on the front of the wreath where they will be covered with the leaf and berry bundle.

Step 13
Use a rubber/nylon and a steel hammer to flatten the wreath a bit, paying particular attention to the lower area where the holly berry bundle will be attached. Tuck the wire ends back into the wreath, if necessary.


Step 14
Use an ultra-fine point retractable Sharpie to mark the wreath back at the center bottom. Center the holly berry bundle under the mark. Mark the curve of the wreath on the back of the holly berry bundle. Mark where the holly berry bundle overlaps on the front of the wreath.


Step 15
Smear (technical term) easy paste solder between the lines on the front of the wreath. Place a line of easy paste solder centered between the lines on the back of the holly berry bundle. Why the solder on the wreath? Solder follows heat, and there are loose wire ends tucked in the wreath at the bottom. There is not enough solder on the holly berry bundle to flow up where the wire ends may be. The solder on the wreath will ensure the wire ends will be soldered in place and never come loose.

Step 16
Nestle the holly berry bundle in pumice in a pumice pan. Center the wreath front side down on the holly berry bundle and press into place. Cover the wreath loop with a bit of pumice. For every trip around the wreath with the torch, pass over the holly berry bundle and wreath another time. Heat until the solder flows. Allow the wreath to cool in the pumice pan. Check the solder connection and reheat if necessary.


Step 17
Pickle and rinse the piece. Neutralize in baking soda water and rinse again. Make sure the piece is dry before going on to the next step.
Step 18
Use soft jaw flat nose pliers to shape the leaves.

Step 19
Tumble the wreath for several hours.
Step 20
The wreath can be left bright silver, or patina can be added. Liver of sulfur was used on these wreaths. Excess patina was removed with 0000 steel wool, which leaves a satin finish on the metal. Tumble again for 20 to 30 minutes to bring back a subtle shine







 Beaded Briolette Pendant
 Snail Trail Spiral Earrings
 Heart Link Bracelet and Earrings
 Crazy Hoop Earrings
 Double Delight Jade Bracelet
 Swagged Pearl Pendant
 Heart Earrings with Drops
 Scarab Bracelet
 Birthstone Heart Pendant
 Pearl of the Sea Woven Pendant
 Bead Charm
 Coiled Rosette Link
 Wire Jewelry Component and Swan Hook
 Leaf Bail
  Component Templates with Heart Earrings and Pendant
 Ring Pendant
 Calla Lily Earrings
 Birdhouse Pendant
 Clamshell Earrings and Pendant
 Bracelet Component
 Teardrop Earrings and Pendant
 Tab Style Pendant
 Coiled End Caps
 Freeform Pendant
 French Hook Ear Wires
 Necklace Component
 Triangle Shield Earrings, Pendant and Bail
 How to Make a Wire Coil and Bead
 Egyptian Coil Bracelet
 Focal Bead Egyptian Coiled Bracelet
 Sweetheart Round Cabochon Pendant
 Making Cobblestone Cabochons
 Cupcake Wrapper Earrings
 How to Make Metal Washers
 Baseball Skin Keychain
 Pat's Silver Domed Earrings
 Blaze Your Own Path Pendant
 Semi Snap-on Bail
 Interlocking Faux Twist Wire Bracelet
 Fold Formed Cuff With Faux Roman Glass or Coin Cabochon
 Steampunk Style Leaf Earrings
 Stamped Saucer Beads
 Kat's Wire Hoop Earrings
 Simple Bail on a Coin Pendant
 Wire Bangles
 Rolling Mill - or not - Cuff Bracelet
 Jen's Chain
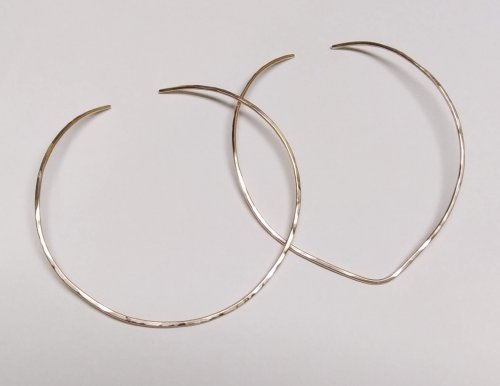 Making Neckwires
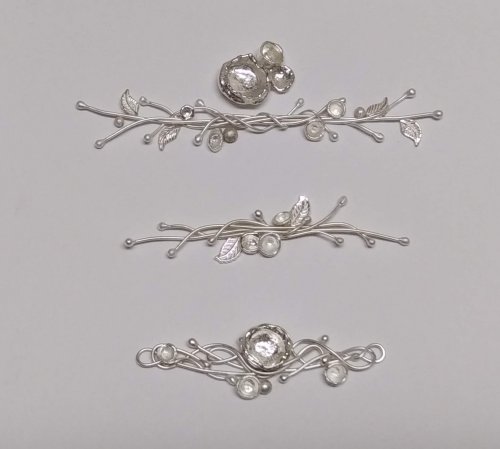 Silver Scrap Wire Focals to Embellish
 Splash Ring
 Cobblestone Cab Earrings
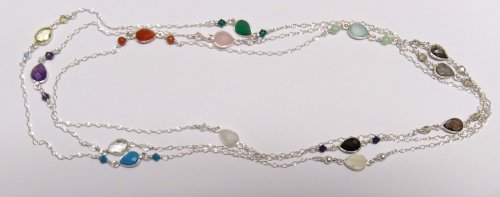 Multi Gemstone Necklace
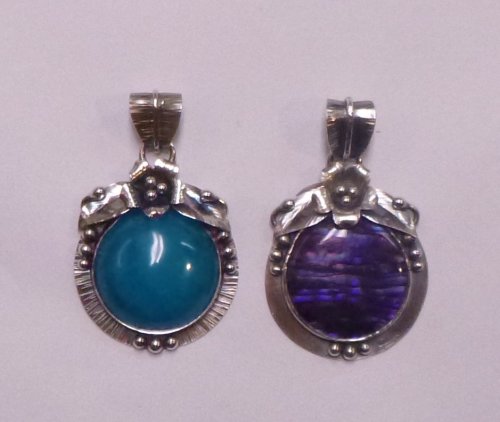 Southwest Style Pendant
 Bezels Using Square Wire
 Mixed Metal Sampler Bracelet 1
 Mixed Metal Sampler Bracelet 2
 Mixed Metal Sampler Bracelet 3
 Mixed Metal Sampler Bracelet 4 - Words Matter
 Mixed Metal Sampler Bracelet 5 - River Walk
  Mixed Metal Sampler Bracelet 6 - A Little Bling
 Mixed Metal Sampler Bracelets Series PUTTING IT ALL TOGETHER
  Mixed Metal Sampler Bracelet 7 - Steampunk Space Oddity
 Mixed Metal Sampler Bracelet 8 - Fun Shapes
 Jump Ring Fringe Bracelet
 Easy Artisan Earrings
 Making Chain with Wubbers and Wire
 Heirloom Buttons and Beads Bracelet
  Tiny Silver Charms part 1
 Argentium Silver Scrap Chain
 Sterling Lake Stone Pendant with Twisted Wire
 Smashing Drop Earrings
 Argentium Silver Scrap Nugget Cuff
 Finish Them Your Way Earrings
 Paddle Fringe Earrings
 Seed Bead Earrings
 Bracelet Links 1, 2,3
 Stamped Saucer Beads
 Chaos Scrap Wrap Jewelry
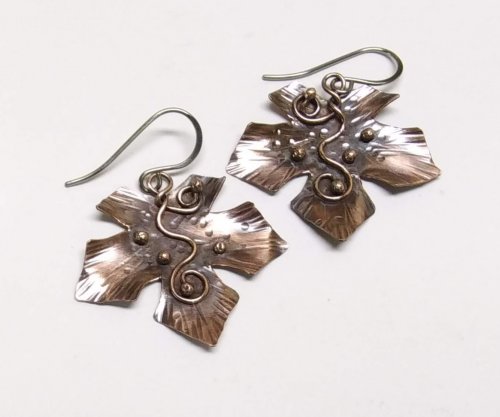 Maple Leaf Earrings
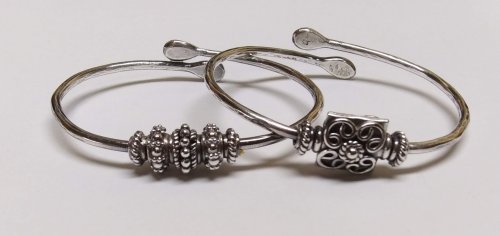 Child's Bracelet That Grows with Them
 Mike's Surpirise Claire's Ripple Pendant
 Angel Ornament
 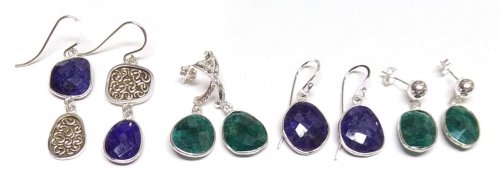 Diamonds, Emeralds, and Sapphires, Oh My.
 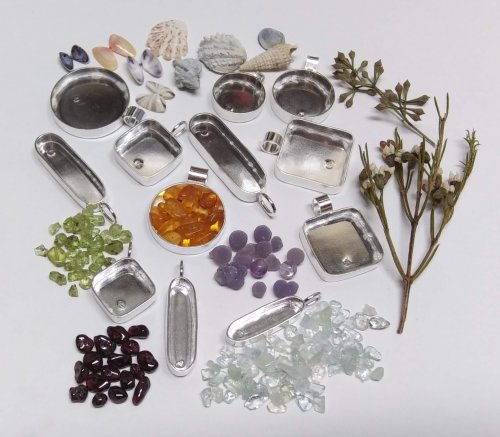 Treasure Bezel Cups
 Three Leaves Earrings
 Silver and Gold Earrings
 Make a Hidden Bail
 Wire Links 4, 5, 6
 Wire Links 7, 8, 9, and 10
 Double Loop Ear Wires
 Balled and Paddled Head Pins
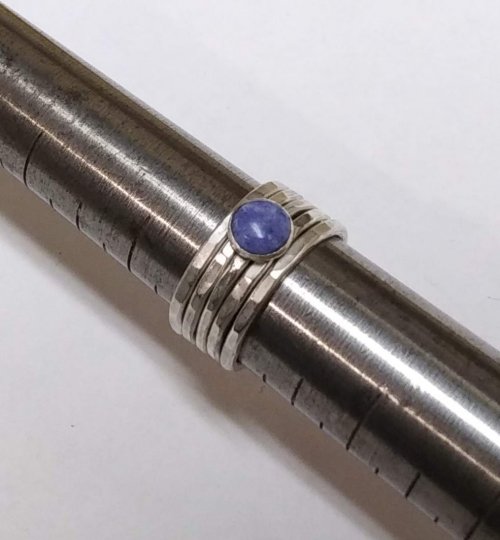 Textured Stacked Rings
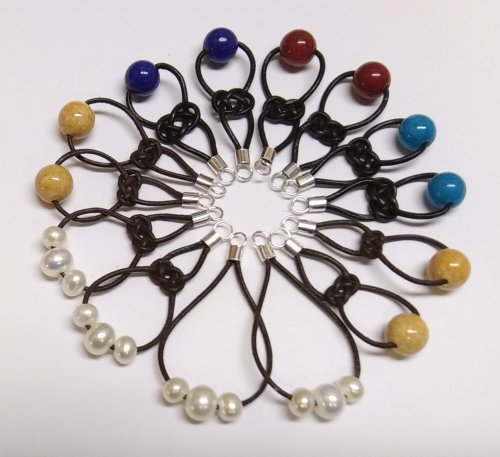 Cord and Bead Earrings
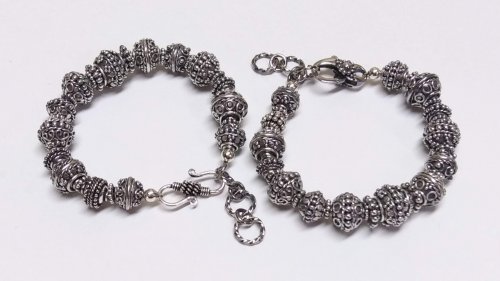 Bali Style Adjustable Closures
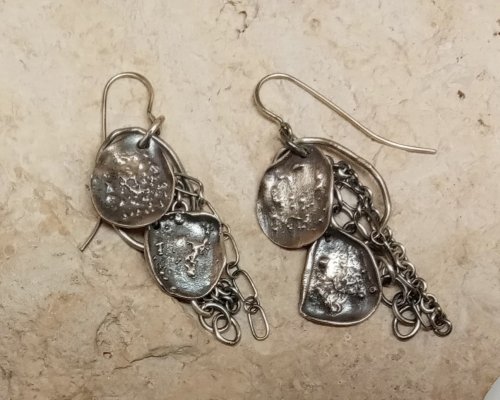 Organic Fused Silver Dust Earrings
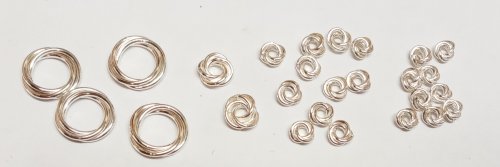 Mobius Rings
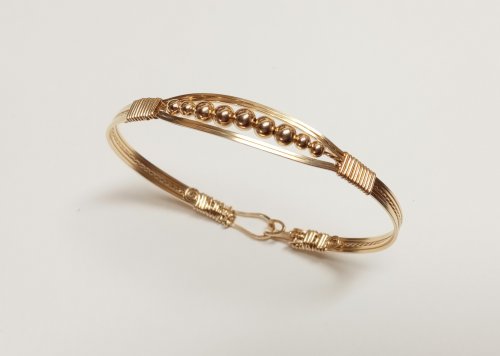 Dainty Bead and Wire Bangle with Hook Closure
 Seed Bead and Nugget Necklace
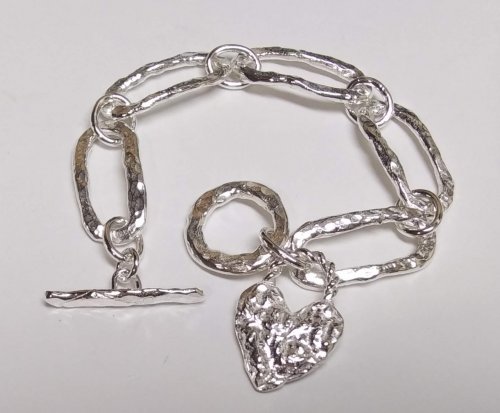 Love Locks Heart Charm
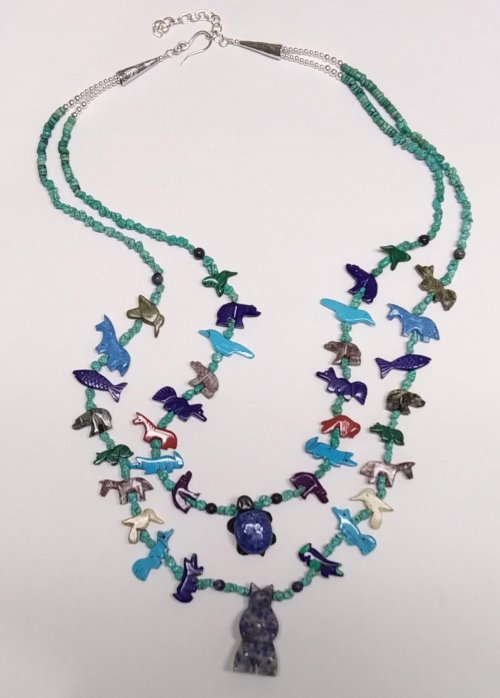 Traditional Southwest Style Hook Closures
  Negative Space Earrings
 Jumbled Lacy Chain
 Easy Beaded Post Hoop Earrings
 Rustic Silver Links
 Make a Soldered Paperclip Chain
 Make a Fused Paperclip Chain
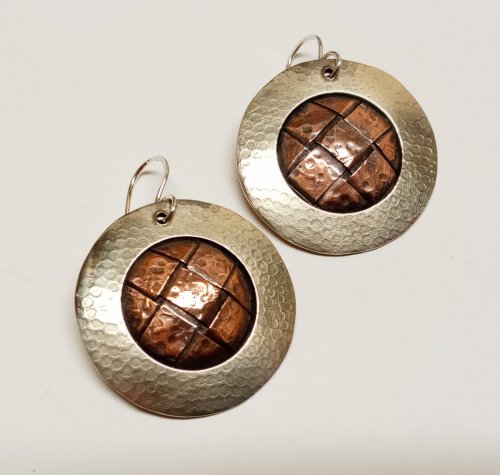 Make Woven Metal Strips to Use in Your Designs
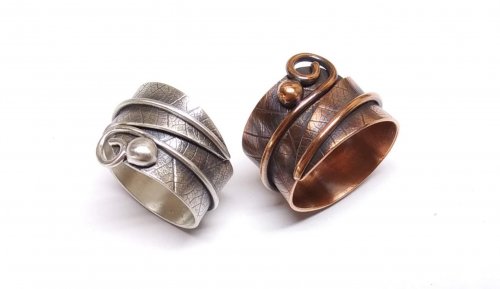 Leaf Wrap Metal Rings version 1
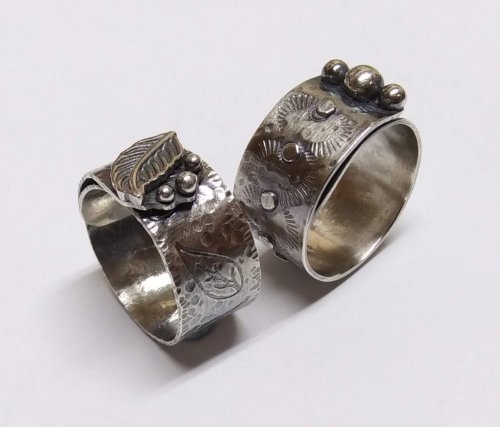 Leaf Wrap Metal Rings version 2
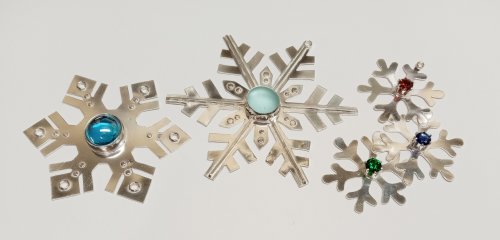 Snowflake Ornaments
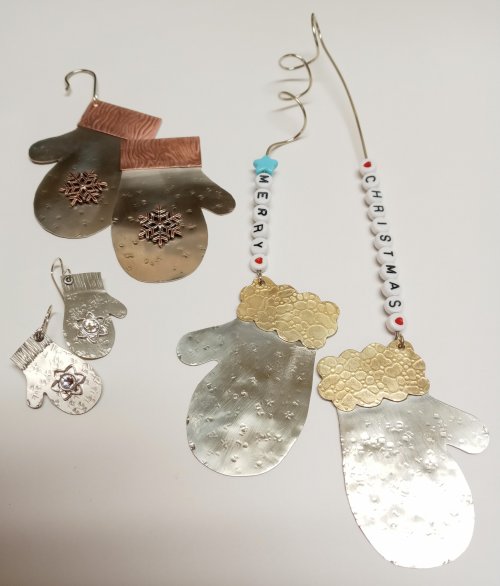 Mitten Ornament
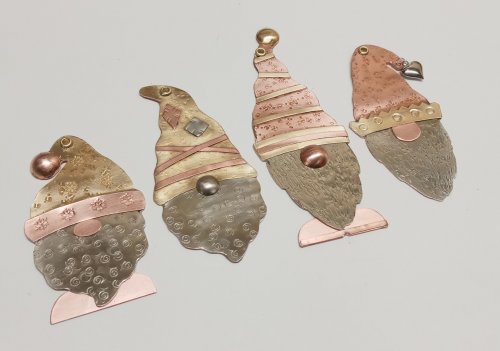 Gnome Ornaments
 A Partridge in a Pear Tree Earrings
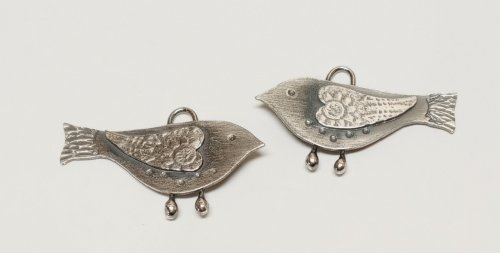 Two Turtle Doves Earrings
 Three French Hens Earrings
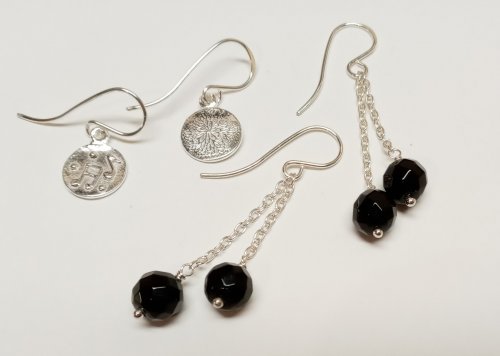 Four Calling Birds Earrings
 Five Golden Rings Earrings
 Six Geese a Layin' Earrings
 Seven Swans a Swimming Earrings
 Eight Maids a Milking earrings
 Nine Ladies Dancing Earrings
 Ten Lords a Leaping Earrings
 Eleven Pipers Piping Earrings
 Twelve Drummers Drumming Earrings
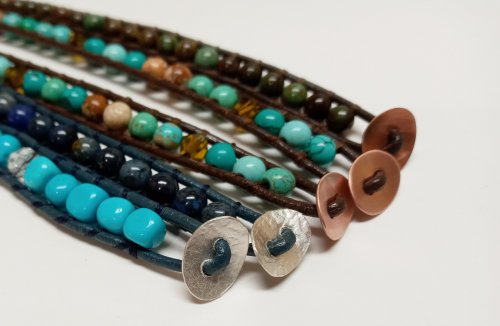 Make Your Own Bracelet Button Clasps
 Little Saucer Bells
 Doodads - Fun Findings
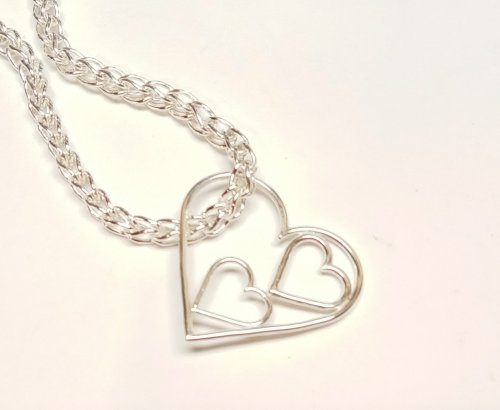 No Measure Hearts, Any Size, Any Gauge
  Cascading Drops Earrings
 WIre Basics - Spiral Charms
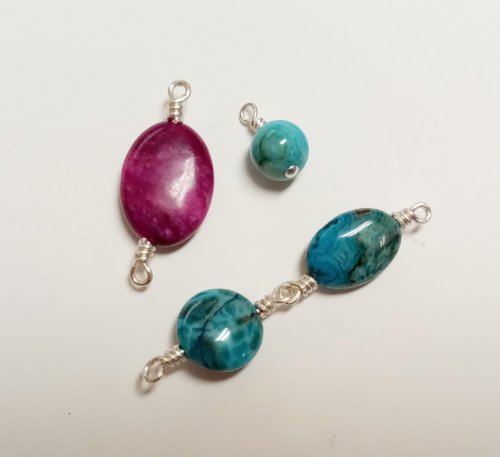 Wire Basics - Wrapped Loops and Links
 Wire Basics - Simple Swan Hook
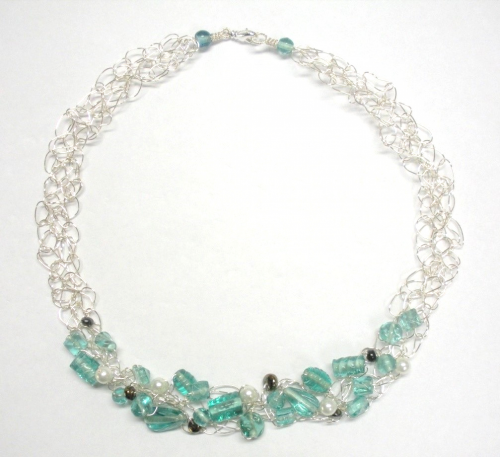 Wire Crocheted Necklace
 Wire Basics - Wire Garage Door Spring Link
 Easy Post Hoop Earrings
 Double Wrap Wire Bangle Bracelet
 Organic Wire Pendant
 Coiled, Beaded Slide
 Cone and Chain Earrings
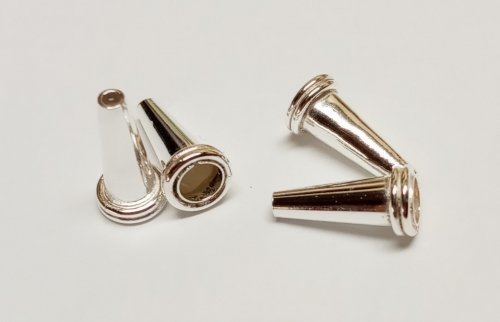 Embellished Sterling Cones
 Classic Wire Wrap Bezelled Pendant
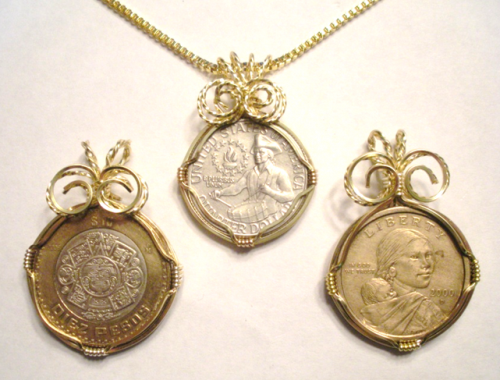 Wire Wrap a Coin
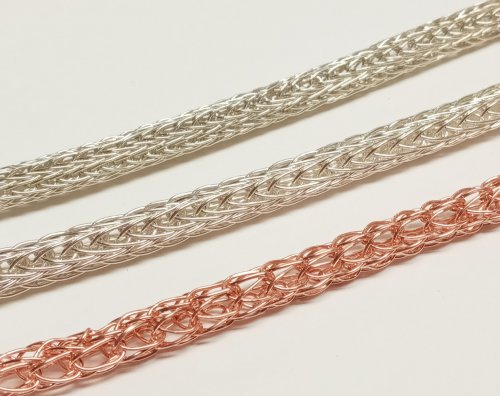 Viking Knit
 Viking Knit Bracelet
 Coiled Wire End Caps
 Bead-Wrapped Hoop Earrings
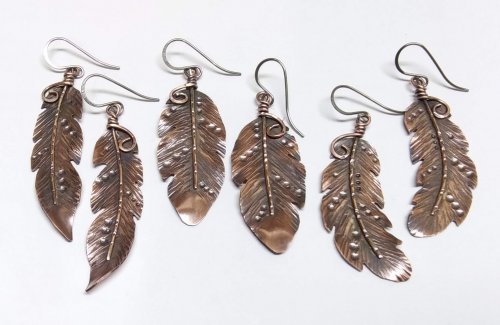 Copper Feather Earrings
 Soldering a Dome to a Backplate
 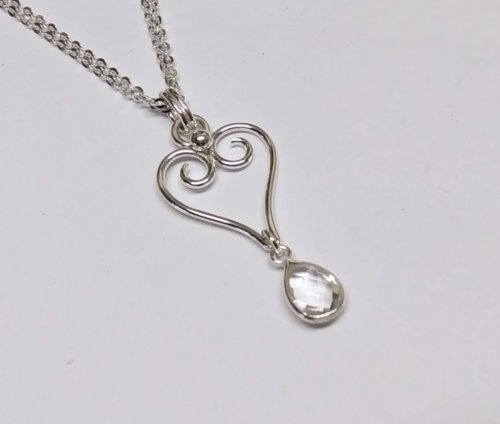 Wire Heart Pendant with Gemstone Drop
 Make Basic Wire Shapes for Jewelry
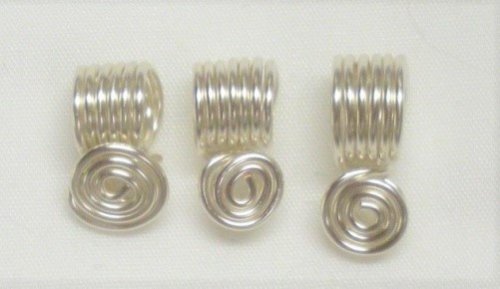 Make Simple Wire Slide Bails
 Coiled Bead and Twisted Wire Bracelet
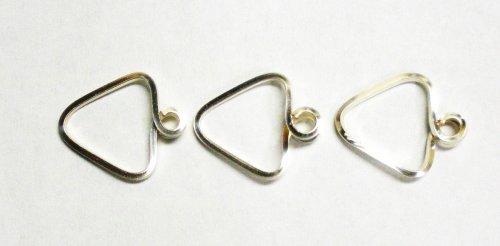 Wire Triangle Link
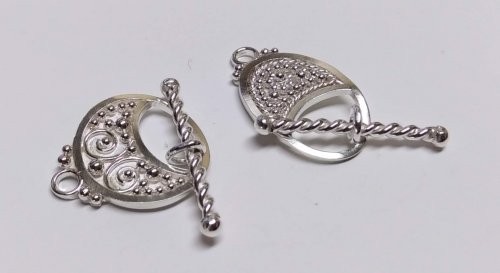 Bali Style Focal Toggle
 Silver Nuggets
 Fun Shapes Fish Hook Earrings
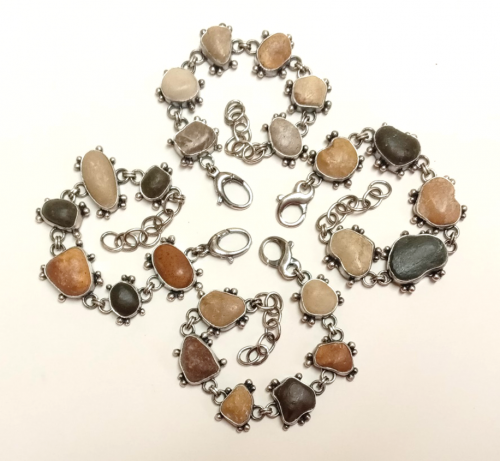 After the Rain Bracelets
 Dangling Drop Earrings
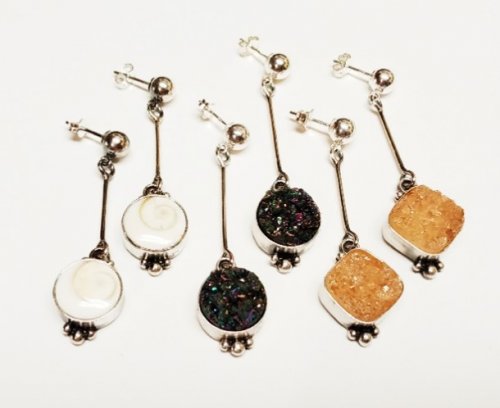 Dangling Chain Sticks
 Wire Heart Pendant with Gemstone Drop
  Tropical Leaf Earrings
 Basic Bezel Wire Tutorial
 Dog Tag Style Necklace
 Lacy Washers
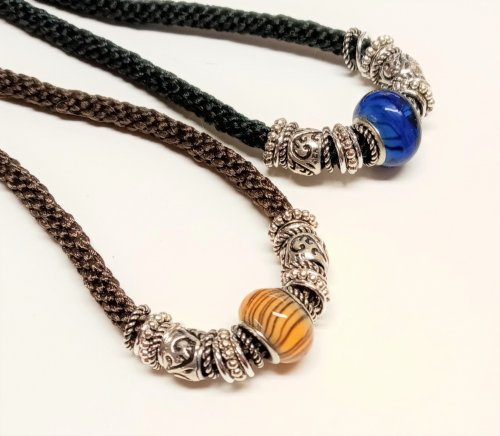 8-Strand Kumihimo
 Closed Loop Ear Wires
 Simple Strip Bails from Scratch
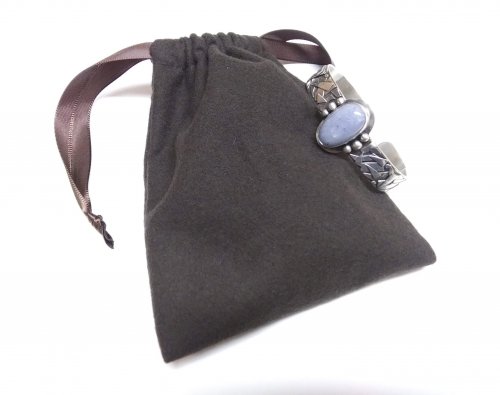 Anti-tarnish Silver Cloth Bags
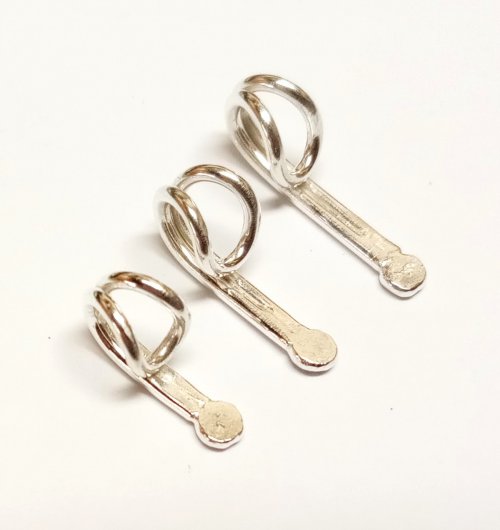 Cotter Pin Style Bail
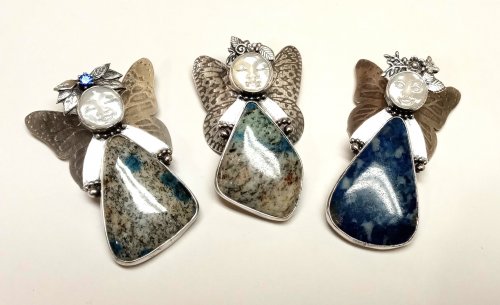 Holiday Woodland Fairy Ornament
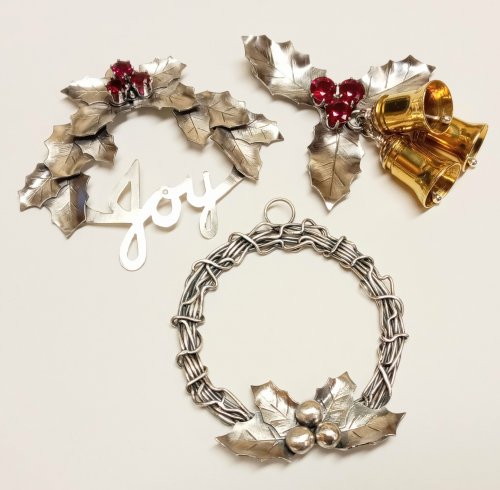 Happy Holly Days Leaves and Berries
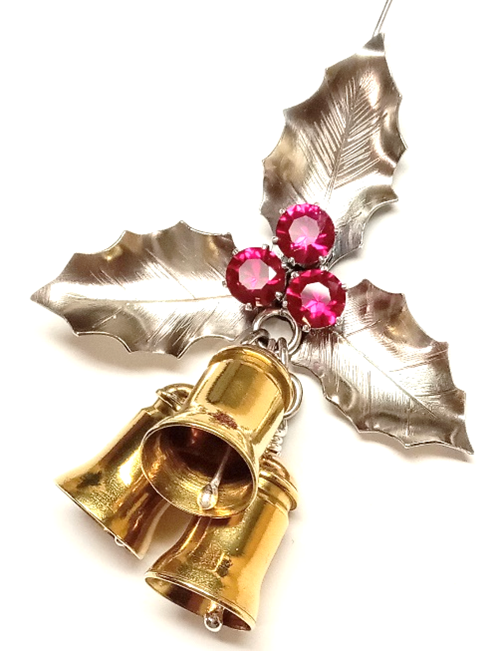 Happy Holly Days Bells Ornament
  Art Deco Wire Wrapped Pendant
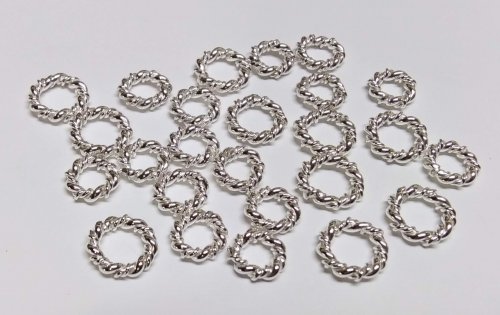 Twisted Wire Jump Rings
 Two-tone Beaded Bangle
 Sweetheart Pendant
 Waves on the Beach Earrings
 Any Size Wire Hearts - Any Size, Any Gauge
 Just in Case Heart Pendant
 Small Flower Embellishment
 Making Tiny Dapped Metal Leaves
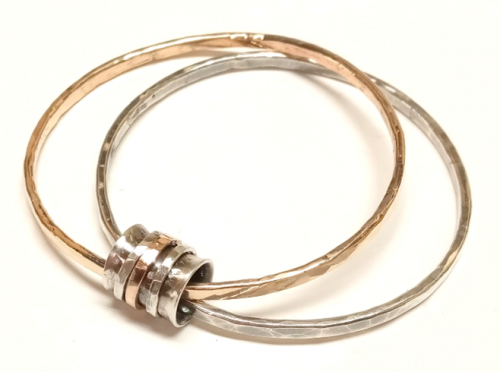 Spinner Fidget Bangles
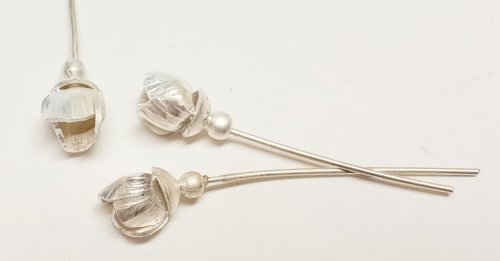 Small Flower Bud Embellishment
 Three Petal Bud and Layered Embellishment
 Creating a Flower Stem
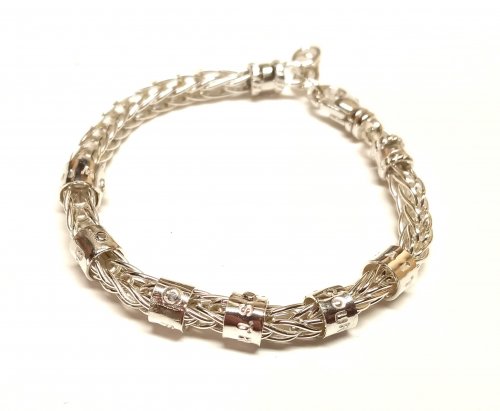 Stamped Tube Beads
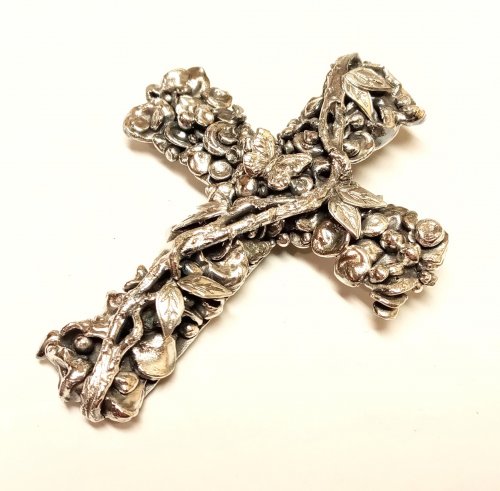 Water Cast Scrap Cross
 Sugared Grapes Pendant
 Gemstone Chains Reimagined
