


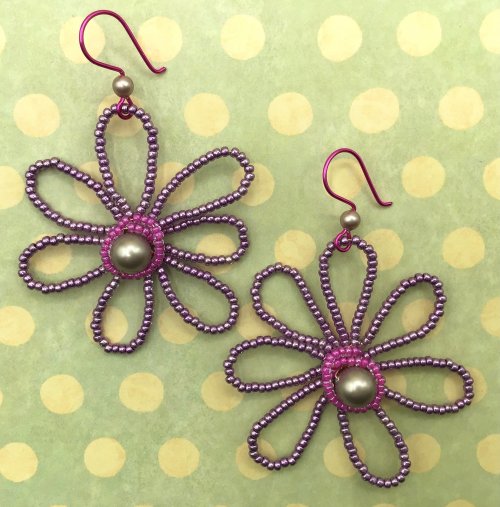


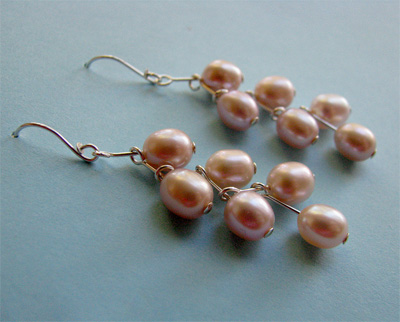
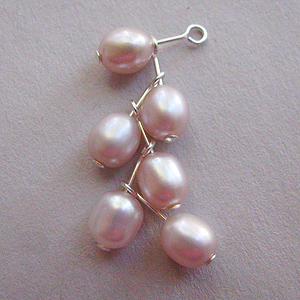
Nailed Pearl Earrings
Designed by Albina Manning © 2011
Skill Level: Beginner/All
Technique: Headpins
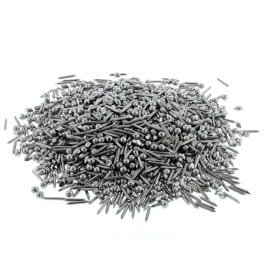
While I was threading pearls onto headpins for another project, the way they were lying on the table brought this idea to me. Of course, you can change the color of the pearls or the metal; or even use crystal beads instead of pearls, to alter this "cluster" design. Making an ear hook from a headpin really saves time too, because its end is already filed!
Materials
- 12 8mm freshwater pearl beads
- 12 3/4" head pins, in a gauge that fits your chosen pearls
- 2 2" 21-gauge head pins
Tools
Instructions
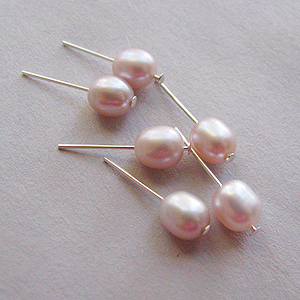
- Slide one pearl on one 3/4" headpin. Do this six times.

- Using round nose pliers, make a simple loop on the end of one pearled headpin (headpin 1).
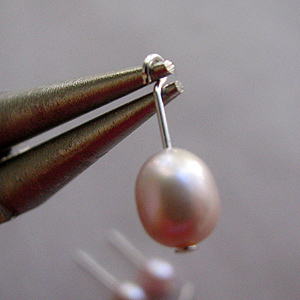
- Insert another pearled headpin, headpin 2, into the loop just made on headpin 1.

- Make a simple loop on the end of headpin 2.
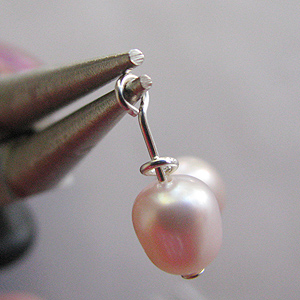
- Repeat steps 2, 3, and 4 until you have a cluster of six pearls.�
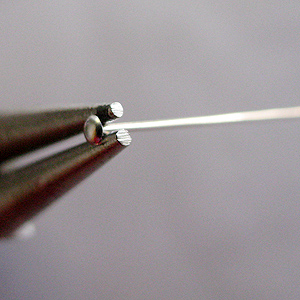
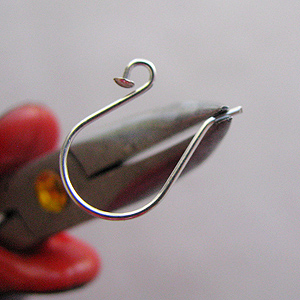
- To make an ear hook from a headpin: Using round nose pliers and a 2" headpin, place the tip of the pliers very close to the "head" of the headpin. Roll the round nose pliers, making a loop that resembles the letter P at the end of the headpin.
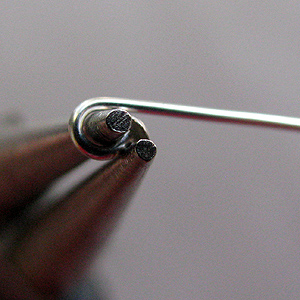

- Using either the widest part of round nose pliers, or 6-step barrel pliers, or even just a round pencil, bend the headpin's wire end around, forming a hook.
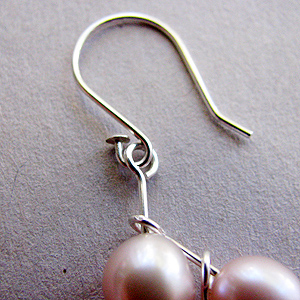
- Approximately 1/4" from the end of the headpin, use chain nose pliers to slightly bend the tip of the wire away from the loop.
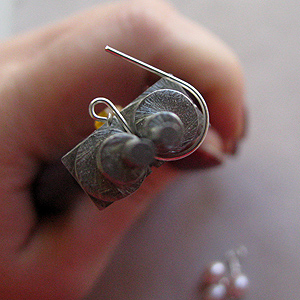
- Attach the newly-created ear hook to the last loop on the nailed pearls. Make the other earring in the same manner.
 Free Wire Jewelry Patterns
Did you find this pattern through a link from a friend? This Free Wire Jewelry Pattern is just one of dozens of free wire jewelry patterns we send via email. Get patterns like this one straight to your inbox - click here!
![]()
The premier place for all your jewelry making needs. The best in wire, tools, cabochons, gemstone beads and more. As well as a superior resource for educational support to help build your jewelry making skills and techniques.
Connect With Us

® 2007 - 2024 Wirejewelry.com Powered by ClaimTheWeb Cart