


Bound for Glory Angel Pin

Designed by Anita Russell © 2012
Skill Level: Beginner
Technique: Wrapping a bundle, gluing components
Making this angel should be fun and easy. Feel free to substitute pieces from your own jewelry box or parts on hand. Come as close to these as you can. Don't have the right parts? Most craft stores carry pieces you'll find that are just perfect for the project.
Note: You will need to wait for glue to dry between steps.
Materials
- 20-gauge round half hard wire, four 5" pieces
- 21-gauge half round half hard wire, 4" (can use scrap, or work off the coil)
Note: you can substitute 20-gauge round wire if using craft wire that isn't available in half round. - Small earring dangle, approx 15mm in diameter
- 11mm pearl cabochon (substitution: a pearl button with the shank cut off)
- Lucite or other wings approx 35x25mm
- 3 jump rings made from your 20-gauge wire, about 4mm ID
- Gold bow approx 12x5mm
- Tie tac finding
Tools
Instructions
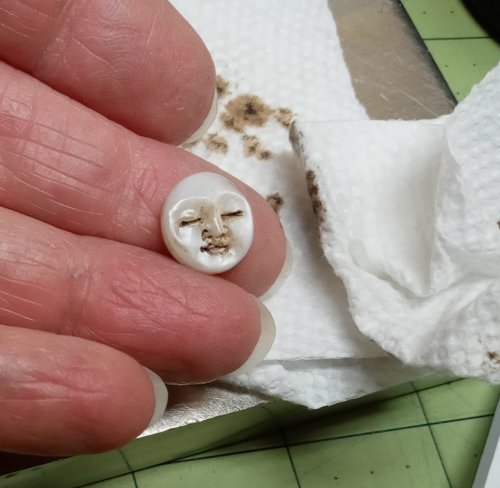
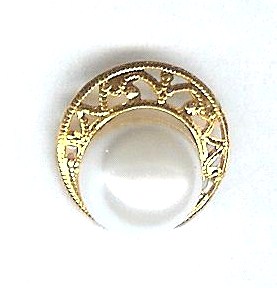
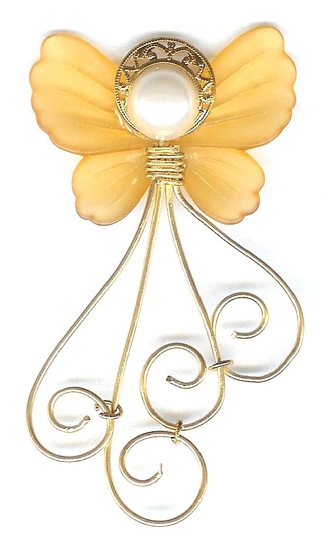
- Glue the face (11mm pearl) to the halo (15mm earring dangle).

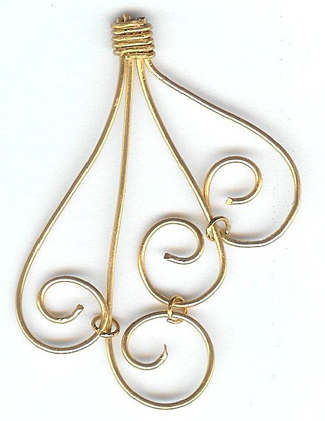
- Using round nose pliers, make an open spiral at the end of each of the four 20-gauge wires, making sure the open spirals are different sizes.
Line up the straight ends of the 4 wires, so that the ends are parallel. Make a bundle at this end, using half-round wire to wrap 4 or 5 times to show. Trim the 4 wires to be nearly flush with the wrap wire.
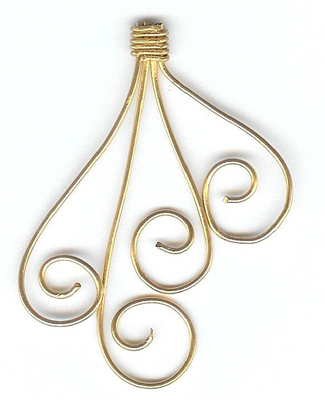
- Attach the 3 jump rings to the open spirals for stability. You've completed the angel's skirt.
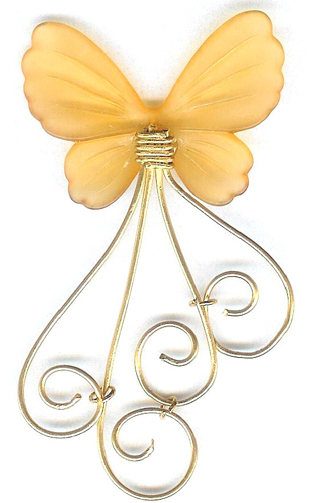
- Glue the angel's skirt to the front of your wings with E6000 glue. Wait at least 1-1/2 hours for the glue to dry before going on to the next step.
- Glue the halo-face combination to the front of the wings, just above the skirt. Allow glue to dry.
- Glue the bow to the bundle wrap wire for a finished look. Allow glue to dry.

- Glue the flat part of the tie tac to the back of the wings, in the center. Let the glue dry.
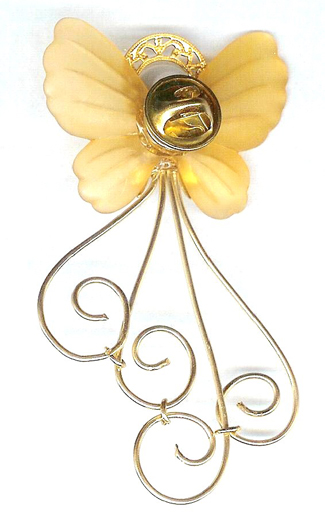
- Wear and enjoy!
Our thanks again to Anita Russell for this pattern! Anita's angels are her signature design, which she created while caring for her father. Her handmade angels are so popular that she even teaches classes on making them at her local community college in Oregon, and also has published a book about her angels. You can explore Anita's collection of angels and read her story here: The Angel Lady
 Free Wire Jewelry Patterns
Did you find this pattern through a link from a friend? This Free Wire Jewelry Pattern is just one of dozens of free wire jewelry patterns we send via email. Get patterns like this one straight to your inbox - click here!
![]()
The premier place for all your jewelry making needs. The best in wire, tools, cabochons, gemstone beads and more. As well as a superior resource for educational support to help build your jewelry making skills and techniques.
Connect With Us

® 2007 - 2024 Wirejewelry.com Powered by ClaimTheWeb Cart