


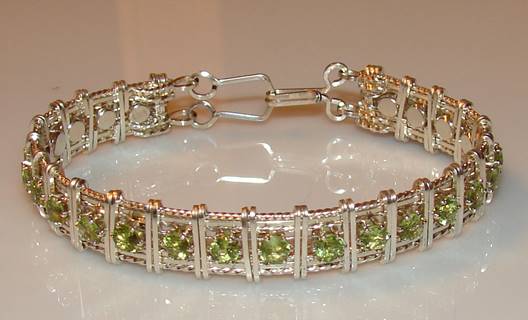
Tennis Bracelet
Designed by Bonnie Triola © 2013
Skill Level: Intermediate
Technique: Wire bending, twisting and wrapping. Adding gemstones and snap sets.
Materials
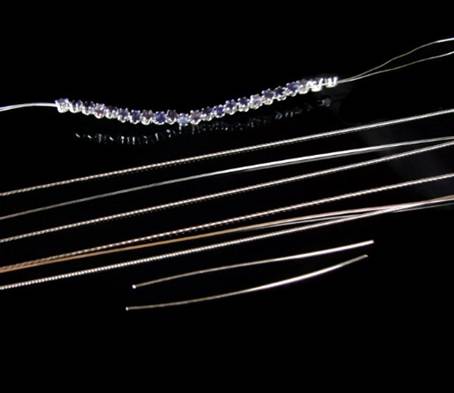
- 25, 4mm gemstones
- 25, 4mm snap sets
- 6, 8 inch pieces of 20 gauge half hard square wire
- 45 inches of 20 gauge half hard square wire
- 2, 9 inch pieces of 24 gauge round half hard wire
- 1, 3 inch piece of 20 gauge round half hard wire
- Masking Tape
Tools
Instructions:
- Place the 25 gemstones into the 4mm snap sets.
- With round nose pliers, roll one end of each of the 24 gauge wires.

- Thread one wire through the left side of the snap set under the gemstone and then thread one wire through the right side of the snap set under the wire. Do this to all 25 settings. Once all of your snap sets are threaded on the wire, take your round nose pliers and roll the ends to prevent the snap sets from coming off of the wire.
- With your wire twister, twist 4 pieces of the 20 gauge half hard wire.
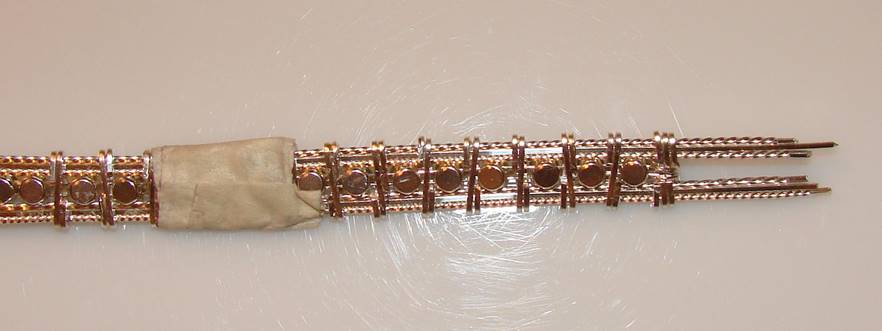
- Take 3 of the wires, 2 twisted and one plain, put the three wires together with the plain one in the
middle. Do that with the other set of three wires. - Place the three wires on each side of the threaded snap sets. Find the middle two snap sets and place a piece of tape around the two snap sets and the six wires.
- Cut the 45 inch of 20 gauge wire into three sections withe each piece equalling 15". I find it easier to work with smaller pieces instead of one long piece.
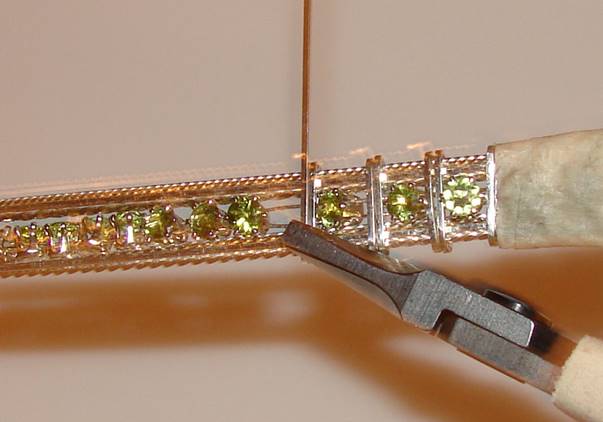
- Bend one of the ends of the 20 gauge wire to form a hook and place the hook between two of the snap sets next to the tape and wrap it around the setting and wires twice. Cut the wire off on the back. Make another hook and go to the next two snap sets and place 2 wraps between those snap sets, cut the wire. Continue placing two wraps between each snap set with the same wire until it is finished. It should wrap between six or seven snap sets. Take the second piece of 20 gauge wire and continue until all the snap sets have wire between them on the first side.

- Remove the tape from the middle of the bracelet and begin placing two wraps between each snap set on that side of the bracelet until the whole bracelet is finished.
- Make sure you place two wraps at the end of each bracelet after the last snap set.
- After you have made the two wraps at the end, take the 24 gauge wire and wrap it around the two wraps twice to secure the wire and cut it off and hide it.
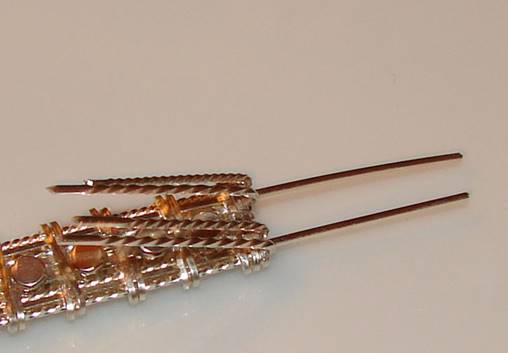
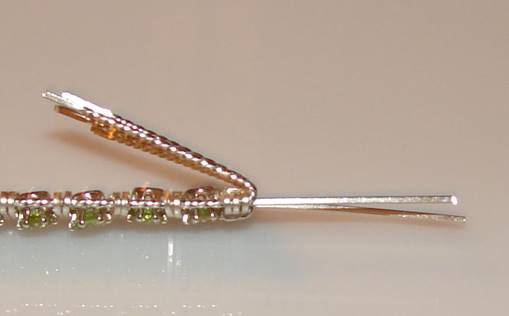
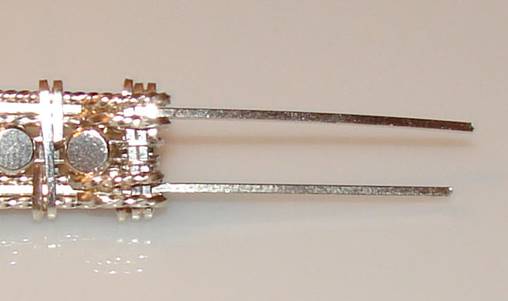
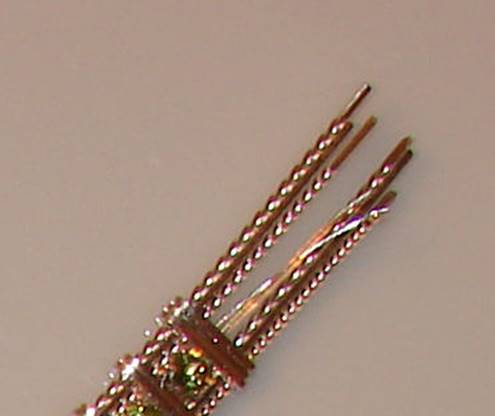
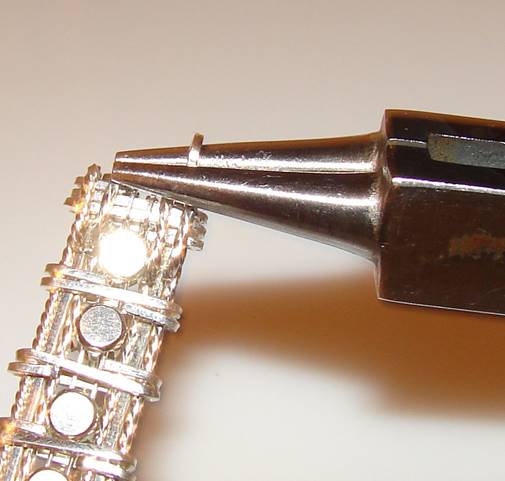
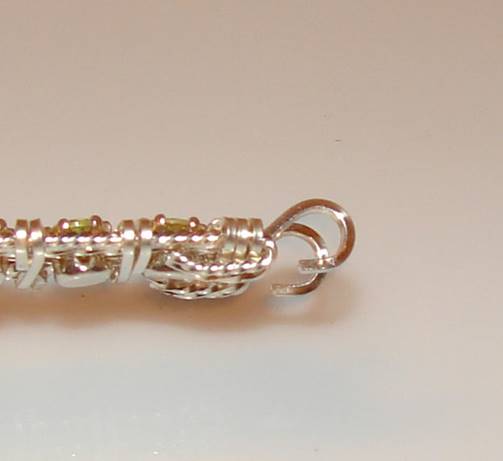
- Using your flat nose pliers, bend down toward the inside, the two outside and two inside twisted wires on each side. Mark 2/8" and cut the wire. Using the tip of your round nose pliers, slightly bend each tip of the wire toward the backside of the bracelet. Bend them down untill they touch the back of the bracelet. With the two untwisted wires, cut them both to 1/2". Using your flat nose pliers, bend the wires up towards the front of the bracelet. Then, with your round nose pliers, bend the wires towards the back of the bracelet to form an open loop. Do this on both ends of the bracelet.
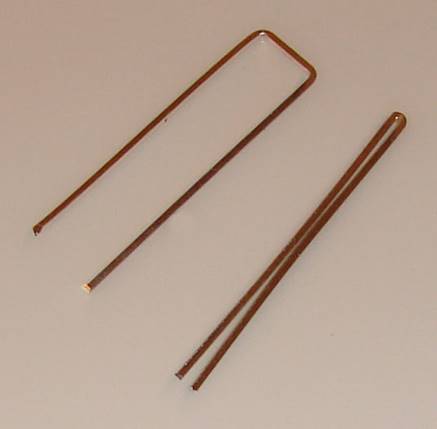
- Put the bracelet aside and pick up one of the 3" pieces of wire. With your chain nose pliers bend the wire in half. Take your flat nose pliers and press the two halves together at the bend. The closed portion of the wire is the top and the open section is the bottom.
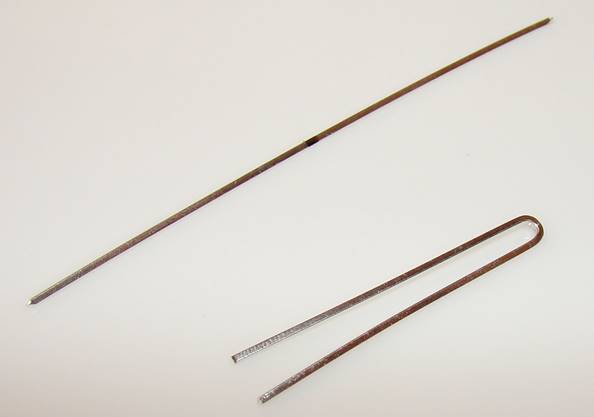
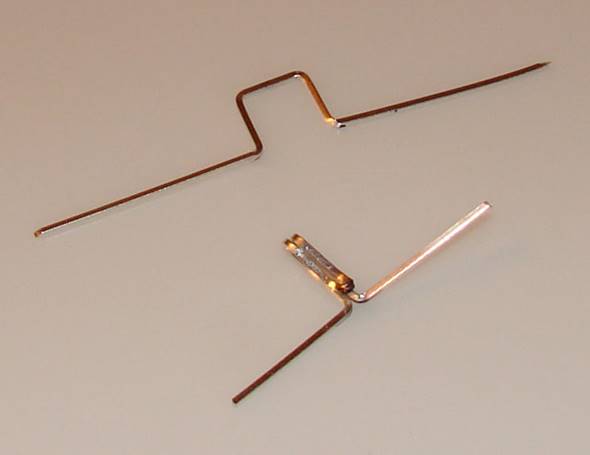
- Still using your flat nose pliers, slightly bend the wire about 1/8 of an inch at the top. At the bottom
of the piece, mark one half inch from the bottom of each wire. Using your flat nose pliers, bend the wire 90 degrees on each side. Make adjustments to the hook if you need it longer or shorter. - With your round nose pliers bend the top down about 1/4 of an inch. Your piece should look like this photo and the photo in step 13.
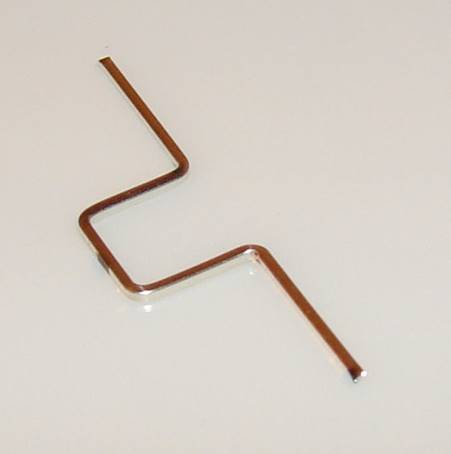
- With your round nose pliers, put a mark on the pliers where you make your bend and wrap one side of the wire around the pliers. Using the mark on the pliers, place your second piece of wire on the mark and twist inward until your piece looks like the photo below.
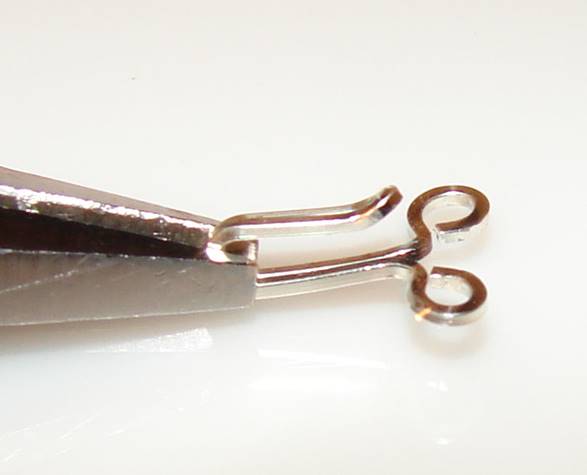
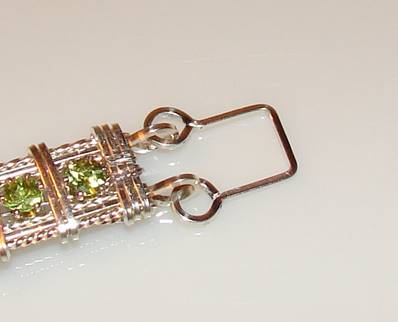
- Put the hook aside and let's make the eye. Take the other piece of 3" wire and with the wider part of your round nose pliers, mark the middle of the wire and then mark 1/4 of an inch on both sides of the middle and bend the wire down at each 1/4" mark. That will form the eye for the top. Measure 1/2 inch from the top and mark both wires, mark the wire on both sides. .
- With your flat nose pliers bend each wire 90 degrees. With your wire, mark a 1/2 inch from the bend and cut off the excess wire. Using your round nose pliers where you marked the pliers for the hook end, place one of the wires and bend it around forming an open loop. Do this on the other side. Your piece should look like the example below.
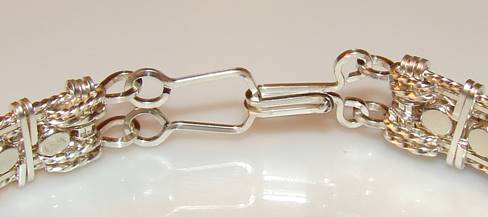
- Close the loops of both pieces.
- Pick up the bracelet and the hook clasp. Place the two loops from the clasp and place them inside of the two loops of one end of the bracelet and close the loops. Do the same for the eye on the other side of the bracelet.
- Clean and tumble.
Hook and Eye Clasp:
Congratulations! You have made your first Tennis Bracelet.
 Free Wire Jewelry Patterns
Did you find this pattern through a link from a friend? This Free Wire Jewelry Pattern is just one of dozens of free wire jewelry patterns we send via email. Get patterns like this one straight to your inbox - click here!
![]()
The premier place for all your jewelry making needs. The best in wire, tools, cabochons, gemstone beads and more. As well as a superior resource for educational support to help build your jewelry making skills and techniques.
Connect With Us

® 2007 - 2024 Wirejewelry.com Powered by ClaimTheWeb Cart