


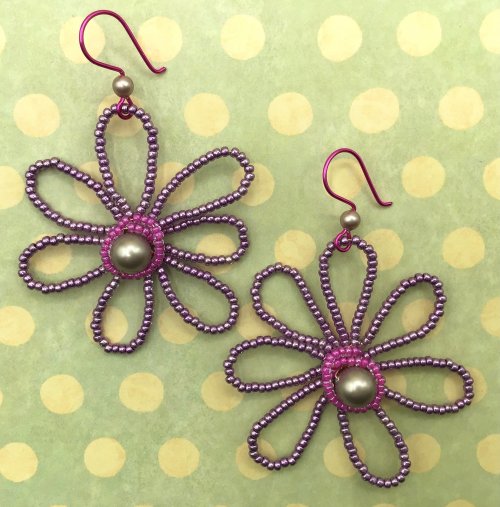


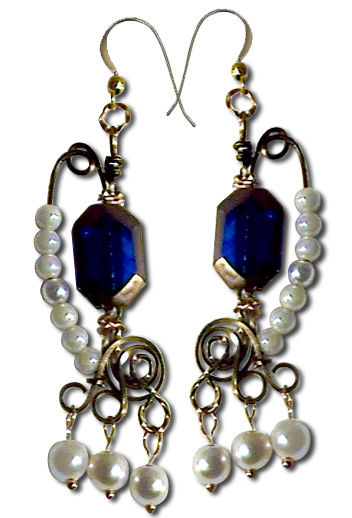
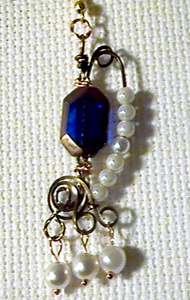
Moving On Earrings
Designed by Brenda Sigafoos © 2011
Skill Level: Intermediate
Technique: Sculpting
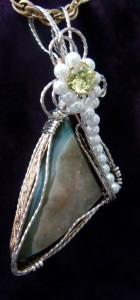
During my entire life I have had to move around, a lot! During a recent move into my new home, I needed to take a break from packing and decided to play with some wire. This earring design is the result of that very relaxing break. Have fun making different versions of this pattern by using your favorite focal beads and replace the pearls with crystals for extra "bling"!
Materials
- 21-gauge square dead soft wire, 44 inches
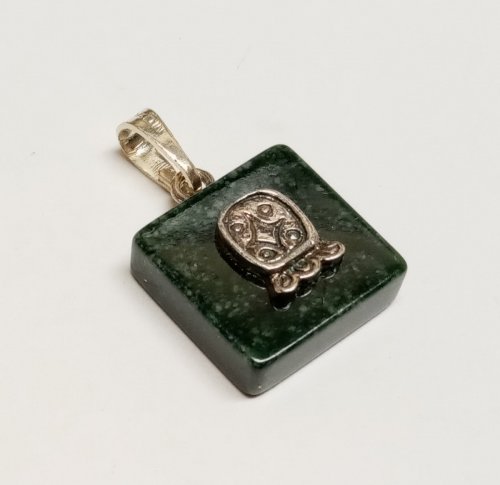
- 2 large beads of your choice (sample uses an 8x12mm octagon)
- 20 small round pearls or crystal beads
- 6 24-gauge 1 1/2" headpins
- 6 2mm round metal or crystal beads
- 2 6mm closed jump rings
- 2 ear wires
Tools
- Flat nose pliers
- Chain nose pliers
- Wire cutters
- Automatic wire twister or Pin vise
- Tape
- Ruler
- Fine point marker
Instructions
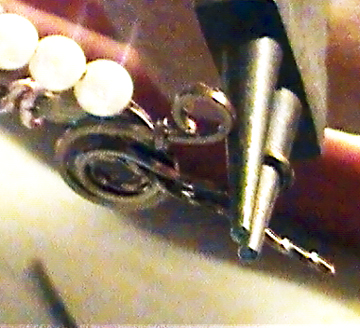
- Straighten, measure, and then cut the 21-gauge wire into six 6" pieces and two 4" pieces. Individually twist two of the 6" wires and both 4" wires.
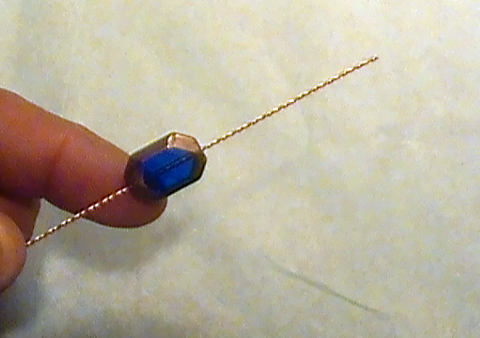
Mark the center of each 4" wire. Slide one bead onto the center of each 4" twisted wire.
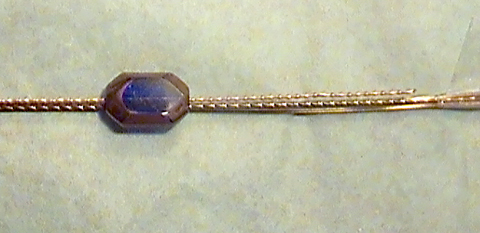
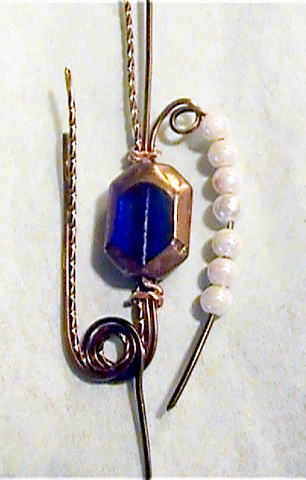
For one earring, make a bundle with one flush end by placing the wires in this order: 6" plain, 4" twisted with bead, 6" plain, 6" twisted.
Tape only the flush end, which will be referred to as the "top" of the earring. For a matching pair, make the second earring bundle in the reverse order.

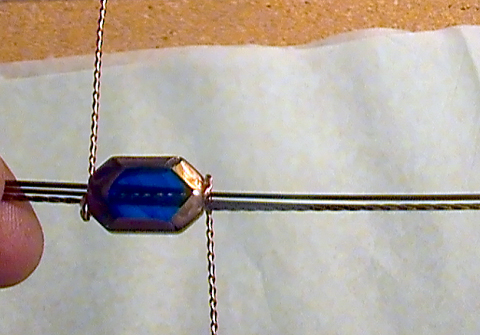
- For this step, work with one earring bundle at a time, and keep the bead on the center mark of the 4" twisted wire.
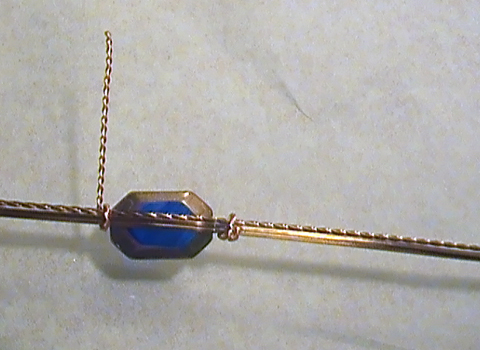
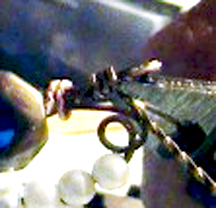
At the bottom of the bead, use the un-taped end of the 4" twisted wire to wrap around the bundle twice. Remove the tape at the top of the bundle and in the opposite direction, wrap the 4" twisted wire around the bundle at the top of the bead, twice, locking the bead into place.
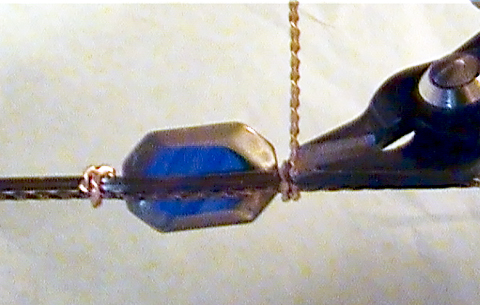
Repeat on the other earring bundle. Trim and tuck both ends of the 4" twisted wire.
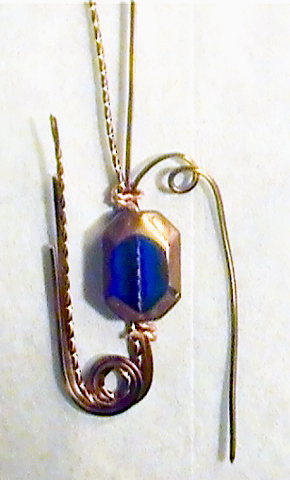
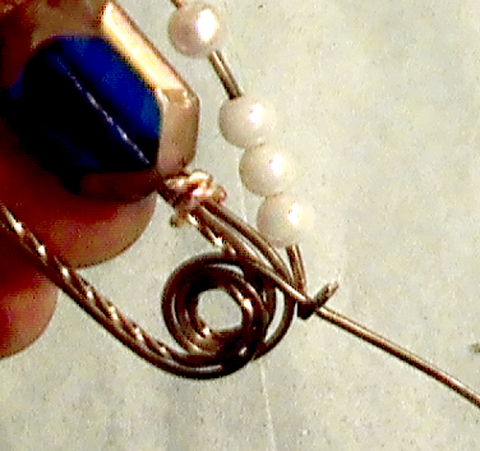
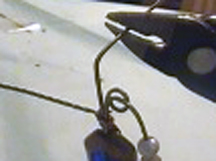
- At the top of each bundle, slightly separate the outer plain wire from the bundle. Use your finger and thumb to create a small swirl in each wire, heading away from the bundle and toward the side of the earring as shown.
Working with all 3 wires at the bottom of each bundle, as though they were one, perform the same "swirl" procedure as you did on the top of the bundle, so that the twisted wire is on the inside of the sculpted loop and all wires are heading toward the side of the earring.
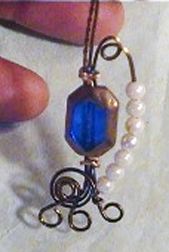
- At the bottom of each earring, bend the outer plain wire of the swirl just created, completely around, so that the end is heading straight down as shown. Slide seven 2mm pearls on the top swirled wire. Curve the pearled wire gently toward the bottom straight wire, trimming the pearled wire's length as necessary to meet the bottom straight wire.
Use chain nose pliers to form a small connection loop at the end of the pearled wire and connect it to the bottom straight wire as shown.
- Continue bending the remaining two wires of the large swirl at the bottom of each earring so that they are heading straight down and slightly fanned away from one another. Measuring from the swirl down, trim each of these 3 wires to 1/2" long.
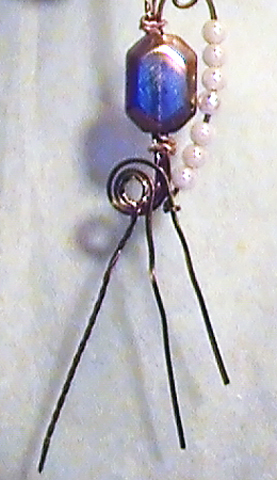
- At the end of each 1/2" long wire, use round nose pliers to make a small loop, heading toward the pearled wire side of each earring.
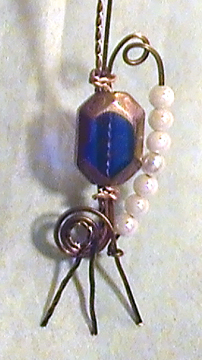
- Return to the top of each earring. Bend each twisted wire toward its respective side, away from the plain wire. Working with the plain wire, measure up 3/4" and bend it toward the back of the earring. Use round nose pliers to form a loop at the bend, toward the front of the earring.
Place a 6mm closed jump ring into each loop. Use the remaining twisted wire to wrap the loop in; trim and tuck all wire ends.
- Use the 1 1/2" headpins and the remaining pearls or crystals to create six charms. Hang one charm from each of the three loops at the bottom of each earring. At the top of each earring, attach an ear wire to each jump ring.
 Free Wire Jewelry Patterns
Did you find this pattern through a link from a friend? This Free Wire Jewelry Pattern is just one of dozens of free wire jewelry patterns we send via email. Get patterns like this one straight to your inbox - click here!
![]()
The premier place for all your jewelry making needs. The best in wire, tools, cabochons, gemstone beads and more. As well as a superior resource for educational support to help build your jewelry making skills and techniques.
Connect With Us

® 2007 - 2024 Wirejewelry.com Powered by ClaimTheWeb Cart