


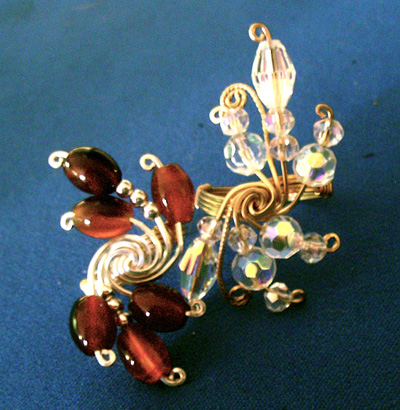
Pinwheel Ring
Designed by Dale "Cougar" Armstrong © 2011
Skill Level: Beginner/All
Technique: Traditional
This is a ring design that offers many possibilities. Depending on whether you decide to use 3 or 4 construction wires, your choice of bead material (crystals or gemstone) and their shapes and colors, every ring can turn out completely unique! Have fun mixing metal colors too, like silver and copper or gold-filled; or use colored wire for totally different results.
Materials
- 21-gauge square half hard wire, 22 inches
- 20-gauge half round half hard wire, 6 inches
- Variety of beads
Tools
- Flat nose pliers
- Chain nose pliers
- Round nose pliers
- Wire cutters
- Graduated metal ring mandrel
- Rawhide or nylon hammer
- Ruler
- Tape (painter's tape and quilter's tape work best)
- Fine point marker
Instructions
- Using the 21-gauge square wire, straighten, measure and then cut 3 or 4 pieces, each 5-1/2 inches long. Place these wires side-by-side and tape the bundle near each end. Measure and mark the center at 2-3/4 inches. According to the size chart that follows, measure and mark the required distance on each side of the center mark.
- For ring sizes 5 through 8 = 5/8 inch
- For ring sizes 8 1/2 through 10 = 11/16 inch
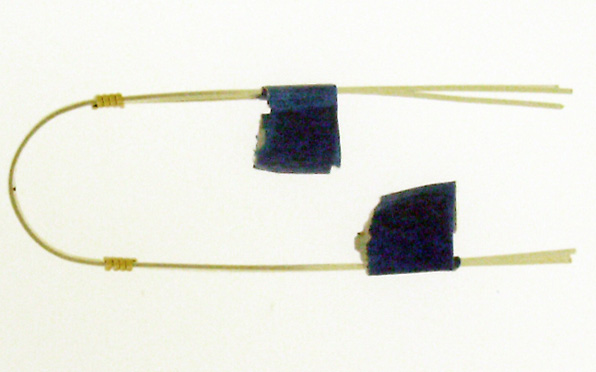
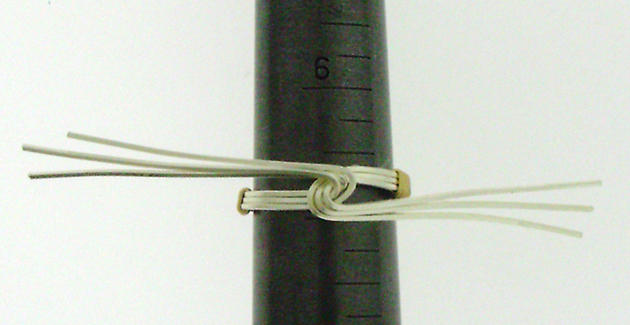
Straighten, measure, and then cut one piece of 20-gauge half round wire 6 inches long. Use this wire to make two sets of wraps, wrapping from each "side-of-center" mark toward its respective end, 4 times to show. Reserve the remaining wire for later.
Note: "4 times to show" is wire jewelry shorthand; it means that there are 4 wraps showing on the front of the piece, with the cut wire ends on the back.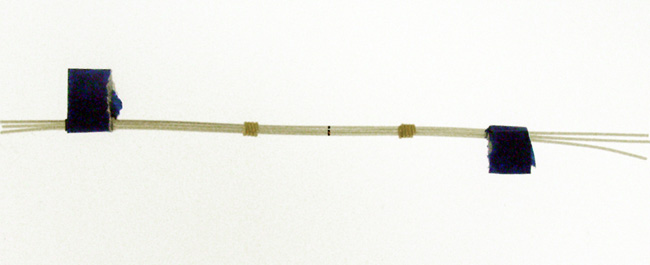

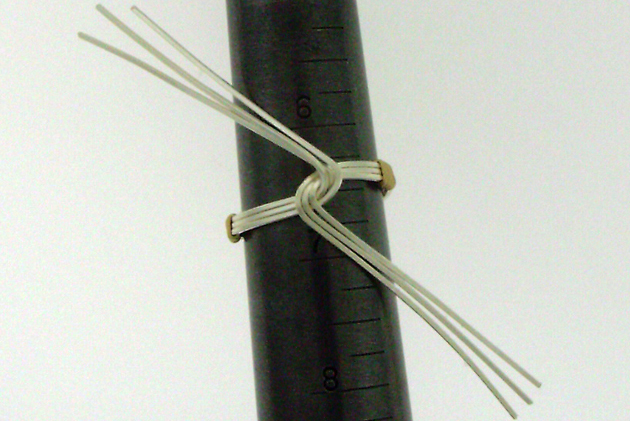
- Place the back of the ring bundle (the side where the marks are and where the wrap wires begin and end) against the ring mandrel, 1-1/2 sizes smaller than the desired finished size. Pressing on both wraps equally, bend the bundle around the ring mandrel so the wraps end up directly across from one another. If the wraps are not directly across from one another, return to the mandrel and make them right.
- Remove the tape and return the ring to the mandrel. Firmly grasp the wires on each side and tightly wrap the wires flatly completely around each other, forming a knot.
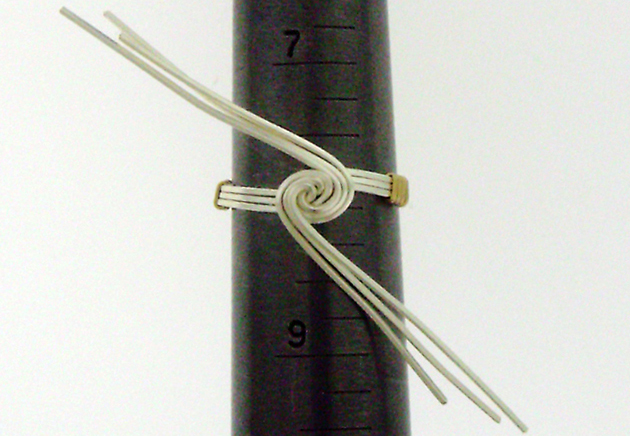
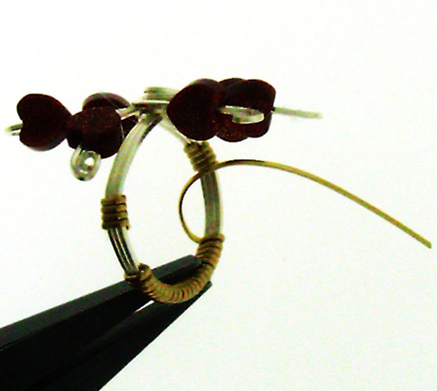
- Now, force the ring down on the mandrel until it is 1/2 size larger than the desired finished size. Carefully remove the ring from the mandrel and gently fan out each of the 3 or 4 wires on one side. One at a time, slide your chosen bead combination onto a fanned wire. Immediately after the last bead, measure and trim the wire end so it is 3/8 inch long. Use needle chain nose pliers to begin and flat nose pliers to form a rosette, rolling it tightly down so it sits at the top of the bead. Repeat on all remaining fanned wires. Repeat the entire procedure on the opposite side of the ring.
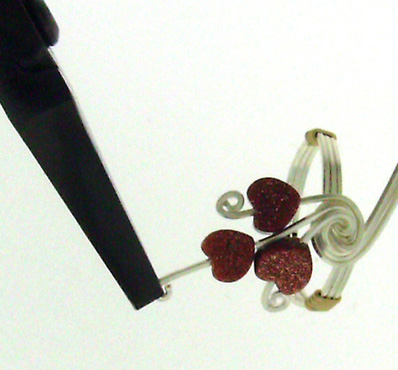
- Return the ring to the mandrel and press all of the beaded wires into place.
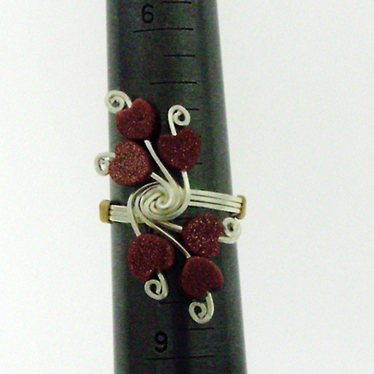
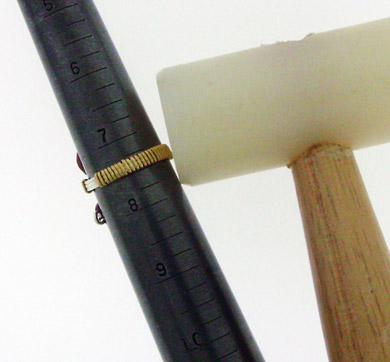
- Remove the ring once again and use the remaining (8 inches) of 20-gauge half round wire to wrap 2/3 of the ring shank. Return the ring to the ring mandrel one last time, and use a mallet to flatten the shank wrap. Your ring should end up the desired finished size.
 |
Find Beginner Wire Wrapping TechniquesFor more information on straightening wire and forming wire into a beautiful bundle, like in step 1 of this pattern, check out Beginner Series DVD 1 by Dale "Cougar" Armstrong. |
 |
Discover Wire Wrapped Ring TechniquesFor more information on making wire wrapped rings, including detailed video instructions on wrapping a ring shank like step 6 of this pattern, check out Ring Series DVD 1 by Dale "Cougar" Armstrong. |
 Free Wire Jewelry Patterns
Did you find this pattern through a link from a friend? This Free Wire Jewelry Pattern is just one of dozens of free wire jewelry patterns we send via email. Get patterns like this one straight to your inbox - click here!
![]()
The premier place for all your jewelry making needs. The best in wire, tools, cabochons, gemstone beads and more. As well as a superior resource for educational support to help build your jewelry making skills and techniques.
Connect With Us

® 2007 - 2024 Wirejewelry.com Powered by ClaimTheWeb Cart