


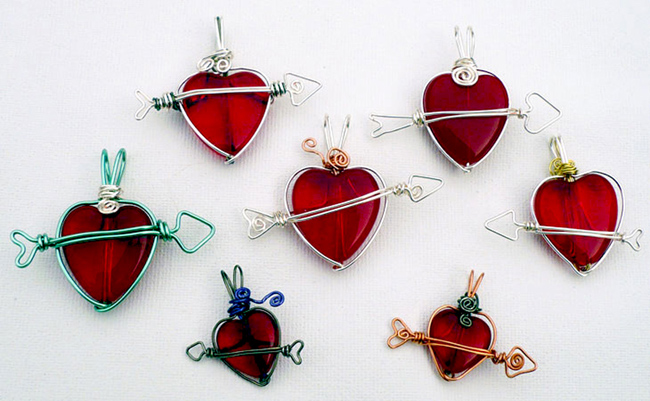
My Valentine Heart Pendant
Designed by Marty Blu © 2012
Skill Level: Intermediate
Technique: Freeform Shaping
Although when I created this design I was thinking of Valentine's Day, you may not see it at that particular time! However, I hope you enjoy learning how to incorporate your own freeform wire shapes within a design, accompanied by a special bead.
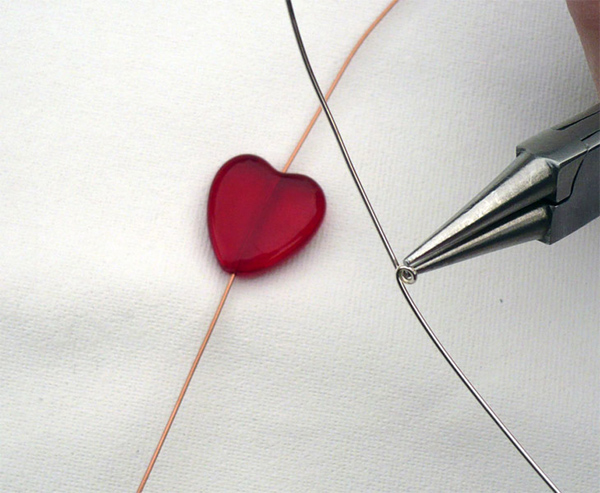
Please note that in certain photos I have used two different colored wires, so you can better understand the directions.
Hints: For a smaller version, use 1/2" bead with 21 or 22-gauge wire. For matching earrings, make two Valentines in mirror image, with a small rosary link loop instead of bail wires.
Materials
- 18 or 20-gauge round dead soft wire, 2 feet
- 1" heart bead, drilled top to bottom (preferably flat to slightly puffy in shape)
Tools
- Flat nose pliers
- Chain nose pliers
- Wire cutters
- Automatic wire twister or pin vise
- Graduated metal ring mandrel
- Rawhide or nylon hammer
- Ruler
- Tape
- Fine point marker
Instructions
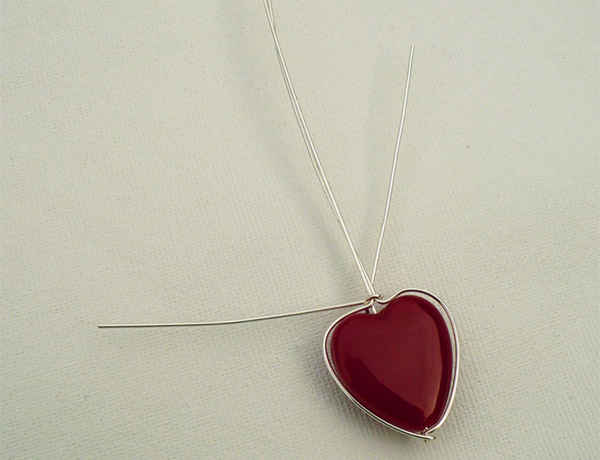
- Cut 8 inches of round wire and slide it through a heart-shaped bead. At the center of the remaining 16 inches of wire, place the tips of round nose pliers and make a small loop; just large enough to let the beaded 8-inch wire through. Slide this loop onto the bottom of the beaded wire (at the bottom of the heart). With the bead in the center of the 8-inch wire, lightly crimp the looped wire around the beaded wire, locking the bead into place. Where the loop crosses itself is now the back side of the pendant.
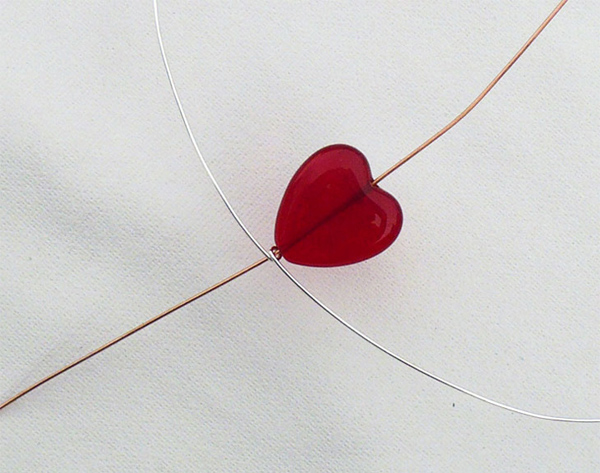

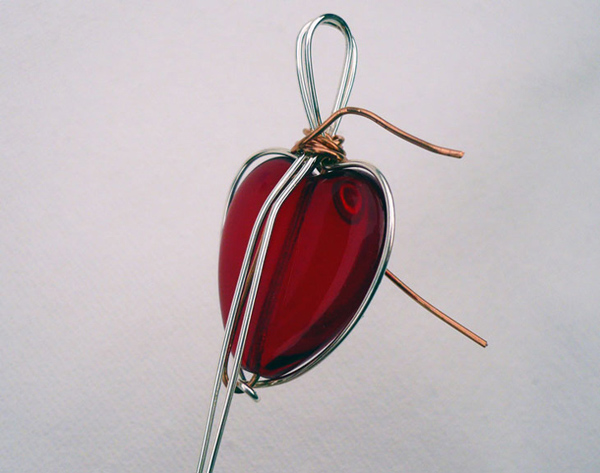
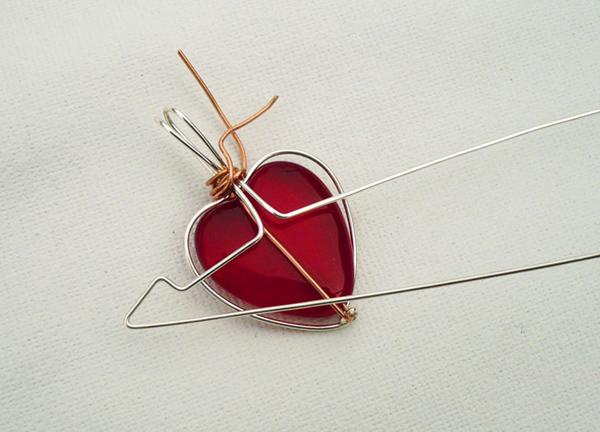
- At the bottom of the loop, bend the end of the beaded wire up the back side of the heart. Now bend this same wire across the top and then upward, so it is parallel to the top of the beaded wire. Tape these both of these wires together.
- Working with the straight wire at the bottom of the pendant, use fingers to form each side up and along each side of heart. At the top, use flat nose pliers to make a bend at the center/top. Run both shaped wires parallel to the other taped wires. Remove the tape.

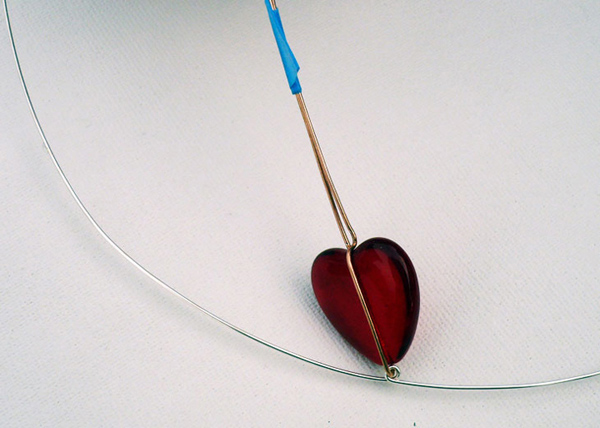
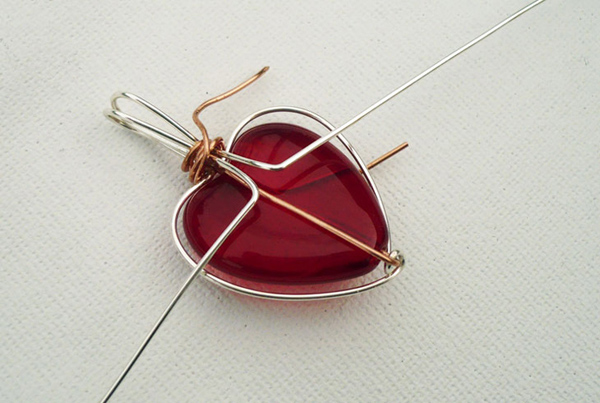
- Using the wire that came up the back side of the heart, make a loop around the other three wires, securing them all in place. Bend the other shorter wire out of way from the two longer wires.
- Working with the two longer wires as though they were one wire, create a bail: about 3/4" above the bead, use round nose pliers to bend both wires toward the back of the pendant. Just above the top of the bead, use flat nose pliers to make a bend in the ends of the bail wire tails, fitting them close to the base of the bail. Use one of the side/frame wires to wrap the bail together, trim and tuck the wire end. Use the end of the remaining frame/shape wire to either spiral and embellish the bail wrap, or simply trim the end and tuck it into the bail wrap.
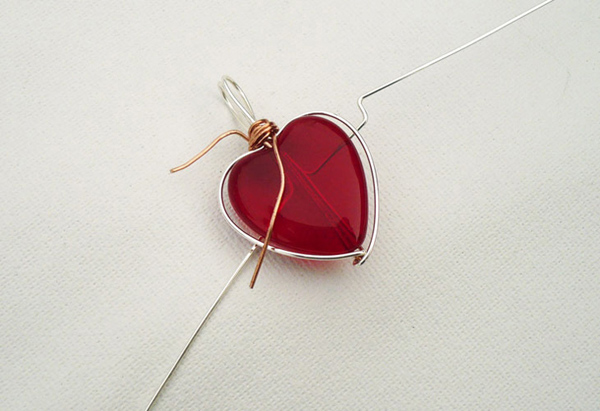
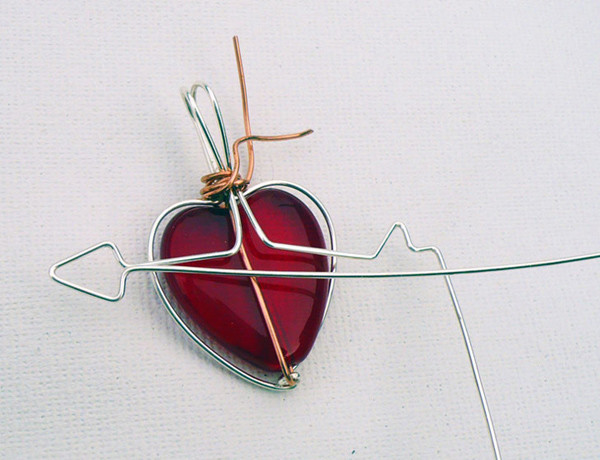
- Return to the two long bail wires running down the back of the heart. At about mid-heart, use flat nose pliers to bend each one out toward its respective side.
- Using fingers, hold these wires in place on the back of the pendant and then bring each wire slightly forward to meet up with the side/frame wires.
Tip: If your bead is slightly puffy, the wire can go a little beyond the side wires, to compensate for the extra dimension.
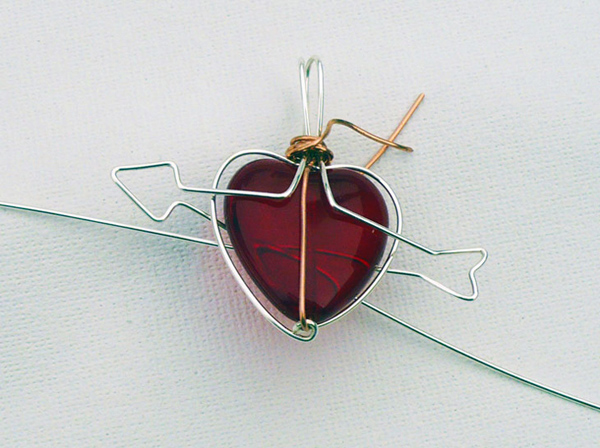
- On one of these longer wires, use the tips of chain nose pliers to measure from the edge of the heart frame out. At that location, begin making the point of an arrow by making a bend up; using the width of flat nose pliers make the second bend slightly down. Repeat the bends necessary until you have made an open triangular shape, simulating Cupid's arrow. Do the same with other longer wire, but make the triangle pointing in direction of the heart, simulating the feathered end of the arrow. OR the end of triangle tail feather can just be bent in a “V” shape.
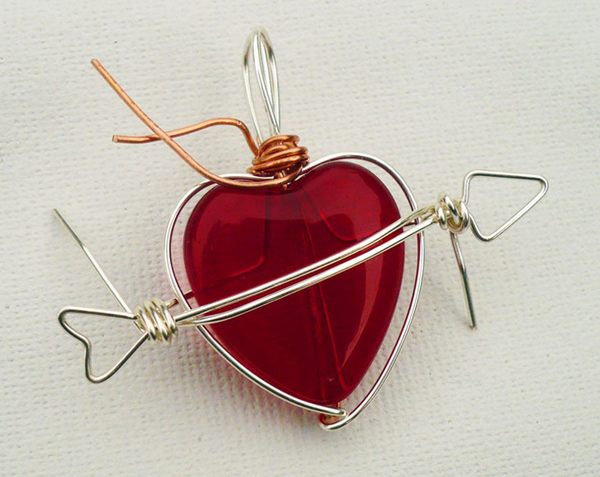
- End the shapes with the wire ends laying across the front of the heart bead, parallel to one another, forming the arrow's shaft.
- On the front of the pendant, use the wire crossing from arrow head to wrap around the arrow shaft between heart and tail feather, locking the bead into the arrow shape. Now use the wire from the feather end to wrap around the arrow shaft between heart and arrow head. Wrap as many times as you would like, or just enough to fill the gap between the arrow's ends and the heart frame on each side. Either trim and tuck the wire ends on the back side of the pendant, or make a small coil to tuck into open areas of arrow's head and feather.
 Free Wire Jewelry Patterns
Did you find this pattern through a link from a friend? This Free Wire Jewelry Pattern is just one of dozens of free wire jewelry patterns we send via email. Get patterns like this one straight to your inbox - click here!
![]()
The premier place for all your jewelry making needs. The best in wire, tools, cabochons, gemstone beads and more. As well as a superior resource for educational support to help build your jewelry making skills and techniques.
Connect With Us

® 2007 - 2025 Wirejewelry.com Powered by ClaimTheWeb Cart
