


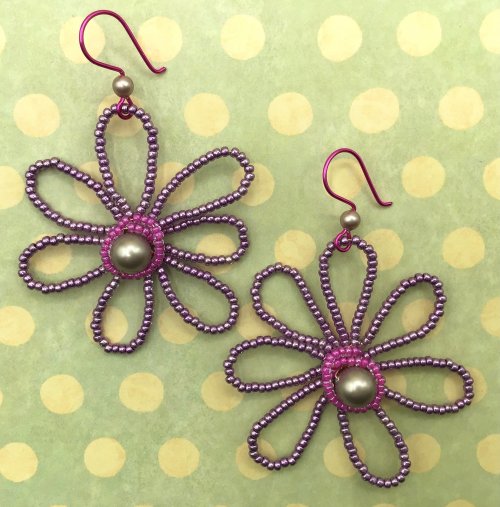


Abstract Earrings

Designed by Sonja Kiser
Skill Level: Intermediate
Technique: Involved Components
My "Abstract" earring design is all about balance. The beauty of these asymmetrically designed earrings is attributed to the free flowing movements. This design uses several wrapped loops giving the jewelry artist an opportunity to improve this technique. It also provides several creative opportunities for you to design your own look; by changing wire colors, bead colors and/or sizes, or by adding a few more beads to the dangles. You can make them to match an outfit or to give as a gift to celebrate a special occasion. But most of all have fun making your own Abstract Earrings!
Tip: Make both earrings at the same time, working one step on one earring and then the same step on the other.
Materials
- 1 24" piece 22-gauge square half hard jewelry wire
- 1 4" piece 21-gauge round half hard jewelry wire
- 2 8mm Beads
- 2 6mm Beads
- 4 5mm Metal Beads
- 2 2mm Metal Beads
Tools
- Chain Nose Pliers
- Flat Nose Pliers
- Round Nose Pliers
- Double-Barrell Pliers
- Three-step Round Looping Pliers
- Wire Cutters
- Pin Vise
- Power Wire Twister
- Tape
- Ruler
- Fine Tipped Marker
Instructions
-
Using 22g square ½ hard wire, straighten, clean and cut the following lengths: 4-pieces 2¼ inches and 2-pieces 6 inches.

-
Measure and mark each headpin 3/8-inch up from the ball head. Place the tip of round nose pliers at this mark and wrap the longer length of the pin around the plier’s tip, forming a tiny loop.

-
On each piece of 6-inch wire, mark ¾ inch from one end. At this mark, form a wrapped loop, working up from the mark, at this end of each 6-inch wire.


-
Tape these wires together below the loops. Mark each wire ½” from bottom of the wrapped loop.

-
Working with both wires at the same time, use round nose pliers to make a complete circle on both wires, bending each wire end toward its respective ‘outside’, (away from the other wire being held). While continuing to hold these wires together with fingers, remove pliers.

-
Using largest step on 3 step pliers, make a large circle slightly below the small one, going in same direction. Remove step pliers, while continuing to hold wires together with fingers.

-
Mark ⅜ inch below bottom of large circle. Using the smallest step on 3 step pliers, bend upward to make a curve with wire pointing slightly upward. Trim 1 ⅜ inch after this bend. Measure and mark ¾ inch from the end of each wire. Remove tape.

-
Place 8 mm bead on wire. At the ¾ inch mark, use flat-nose pliers to bend down, at a 90º angle.

-
Use this angle to make a wrapped loop with round nose pliers. Repeat procedure on the other wire.

-
To make the bead drops for the bottom of each component just completed, using two of the 2 ¼ inch wires, mark ¾ inch from one end and begin forming a loop from this mark up. Before wrapping in each loop, insert it through the loop of the first section with the 8 mm bead on it. Connect by wrapping each loop into the already created component.

-
Trim the drop wires, if necessary, to make them each the same length. Add a 6 mm bead, then a 4 mm metal bead to each ‘drop’ wire. Measure and mark ½ inch up, from the bottom of each beaded ‘drop’ wire. Bend each wire at the ½ inch mark, making a 90º angle. Rosette each wire end up, just to the mark/angle made. This completes the first component.

-
To make the upper bead drops (second component), using each of the remaining two, 2¼ inch wires, measure and mark ¾ inch from one end, and make a wrapped loop from this mark, up. Repeat using the other wire.

-
Place a 5 mm metal bead on the each wire. Lay this wire beside first component, with the top wrapped loops placed side-by-side. Place bead on the wire where it be centered in large loop when it is hung to the ear wire. Using the pen, make a mark ¼ inch below the bottom of the bead. Trim the wire at this mark.

-
Measure and mark ¼ inch below the bottom of the bead. Trim the wire at this mark. Using round nose pliers, make a small loop to lie under the bead, to hold it on the wire. Repeat on the second wire. Lay these components aside.

-
To make beaded ear wire, straighten, clean, then measure and cut two, 2-inch pieces of 21 round ½ hard wire. Hold both wires together, (working them as though they were one wire), use round nose pliers, make a small loop at one end.

-
Put a 4 mm metal bead on each wire, and slide it to sit on top of the loop. Make a 90º bend above the bead, and then curve the wires over a pen barrel or small side of bail pliers. (Tip: If you bend both wires at the same time, they will be alike.)


-
Using flat nose pliers bend end slightly upward. File ends.

-
Connect components to ear wires by using chain-nose pliers to open the loop on each ear wire. Insert the top loop of the second, single bead drop component first, then insert the top loop of first, more complex component onto the ear wire. Close the loop. When the earrings are finished, they should be mirror images and the single-bead wire, should hang so it looks balanced and centered within the largest loop of the first component. Adjust if necessary.

 Free Wire Jewelry Patterns
Did you find this pattern through a link from a friend? This Free Wire Jewelry Pattern is just one of dozens of free wire jewelry patterns we send via email. Get patterns like this one straight to your inbox - click here!
![]()
The premier place for all your jewelry making needs. The best in wire, tools, cabochons, gemstone beads and more. As well as a superior resource for educational support to help build your jewelry making skills and techniques.
Connect With Us

® 2007 - 2024 Wirejewelry.com Powered by ClaimTheWeb Cart