Putting On and Taking Off a Cuff Bracelet
There are many ways to put on and take off a bracelet, but not so with a cuff. In fact, there really is a right and wrong way. Once a cuff has been shaped to fit an area on the wrist, it should not be stretched out and bent back again. Doing this multiple times will stress and weaken the metal. The cuff metal will crack and eventually break.
Instructions
How tight should a cuff be? This really is personal preference. For wearing comfort, it should be tight enough to not turn on the wrist but not so tight as to make it difficult to put on and take off.


This cuff is shaped to fit my wrist loosely enough that it is not tight, but tight enough that it does not turn on my wrist.
Pulling a cuff on over the top of the wrist will stress the cuff metal. It can widen the opening between the cuff ends as it is pulled over the wrist. The cuff then needs to be squeezed to tighten the fit around the wrist, stressing the metal even more. This is definitely the WRONG way to put on a cuff.


My left wrist, shown in the following photos, measures 5-5/8" above the wrist bone at the smallest part of the wrist. The following directions are the same for all wrist sizes.
Push one end of the cuff into the underside of the wrist, centered between the tendons. This DOES NOT hurt.
Push one end of the cuff into the underside of the wrist, centered between the tendons. This DOES NOT hurt.
My left wrist, shown in the following photos, measures 5-5/8" above the wrist bone at the smallest part of the wrist. The following directions are the same for all wrist sizes.
Push one end of the cuff into the underside of the wrist, centered between the tendons. This DOES NOT hur
Push one end of the cuff into the underside of the wrist, centered between the tendons. This DOES NOT hur


The following photos are of the underside of the left wrist. The first photo is the same step as the second photo above, but it shows how the cuff looks at that point from underneath the wrist. Continue to push the cuff around the wrist until both ends are on the bottom of the wrist.
To remove the cuff, reverse the order of the above photos.


Materials
No materials listed
Tools

WireJewelry - Ultimate Wire-Pliers Jewelry Pliers with Case, Set of 5
G15-20
- G15-20
- Lesson Quantity: 1.00 pieces
- Purchase Quantity: 1.00 each
- Price: $170.72
- Gold Club Price: $128.04
- Category: General Education
- Technique(s): General Education







 My first tip - Updated
 Build A Tool Rack
 Clamps for Jewelry Making
 Finishing Wire Ends
 Handmade Closures
 Removing Tarnish From Your Jewelry
 Homemade Pickle
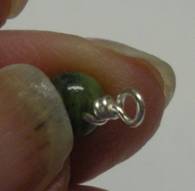 Wire Wrapped Loops
 How to Make Balled Head Pins
 Lessen the Noise - Save Your Eardrums
 Make a Rivet and Eyelet Tile
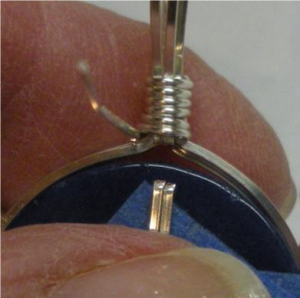 Two Tips for Making Pendant Bails with Craft Wire
 Petal Forming on a Wood Block
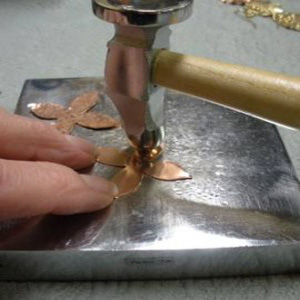 Save Your Fingers while Texturing
 Soldering on Copper
 Sticker Templates
 Using 6 Step Barrel Pliers
  Using a Center Finder
 Using a Tile to Cut Rivets
 Using Household Super Glue on Minor Cuts, Nicks and Scrapes
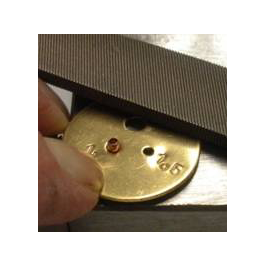 Using Tiles on Tube Rivets and Eyelets
 Clothespin Tools
 Making Decorative Granulation Beads
 Using Your Hole Punch Pliers
 Decorative Granulation and Beads
  How to Find and Mark the Center of a Disc.
 Choosing the Right Clasp
 Tool Tip - Steampunk or Industrial Rivets
  Storing Jump Rings
 Wear Your Brooches on a Neckwire
 Storing Your Metal
 Using Disc Cutter Shims
 Conditioning a Rawhide Mallet
 Flattening Metal Pieces
 Quenching
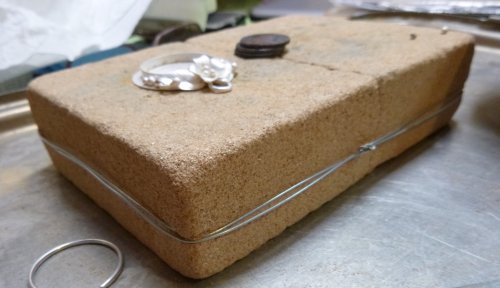 Saving a Broken Solder Brick
 Why I Use Solder Paste
 Designing a Toggle Clasp That Works
 Round Mandrels
 Get the Look of Eyelets
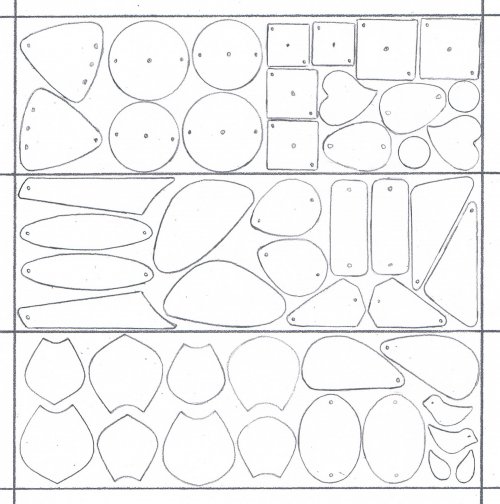 Earring Pairs Template
 Storing and Caring for Files
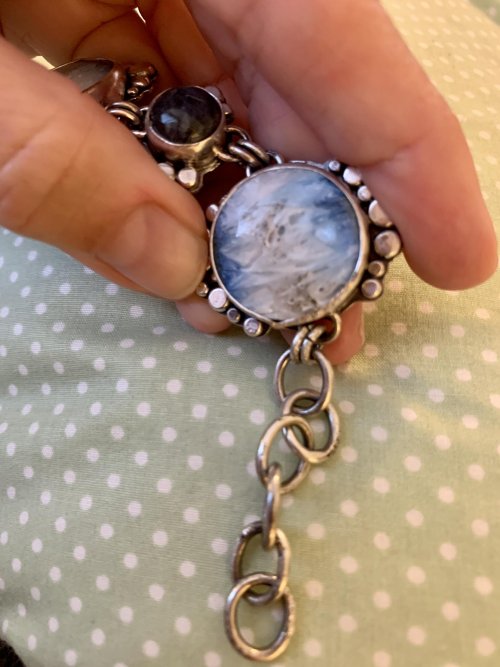 Open or Closed Jump RIngs on Bracelets and Necklaces
 Versatile Permanent Markers
 You Used What
 Rescuing a Very Used Magnesia Soldering Block
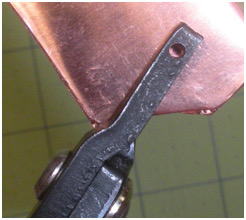 Using Hole Punch Pliers
 Metal Shears Care
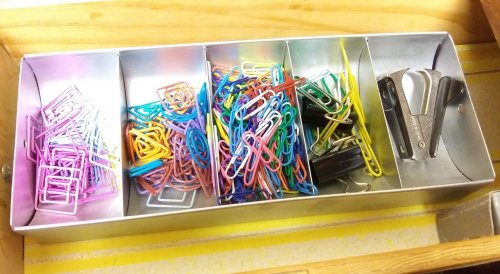 Paperclip Earrings
 Think Outside the Box - Alternative Metal Texturing
 Make Stamping Metal a Bit Easier
 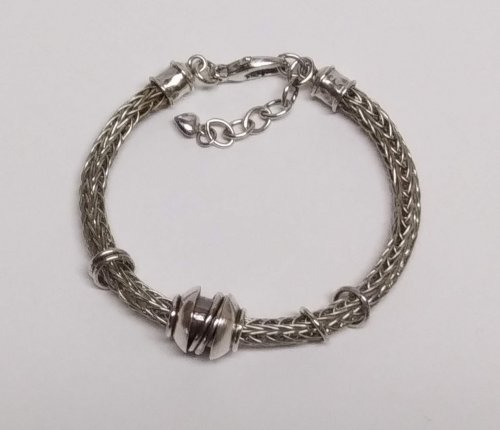 Viking Knit Tips
 Using Glue Under Cabochons
  Tool Tip - Digital Pocket Scale
 Repeat Performance
 Another Way to Condition a Rawhide Mallet
 Carry a Sketch Pad
 Why You Should Take a Class
 Jewelry Making Templates
 Carry a Sketch Pad
 Keeping Your Bracelet Focals in Place
 Metal Content Stamping
 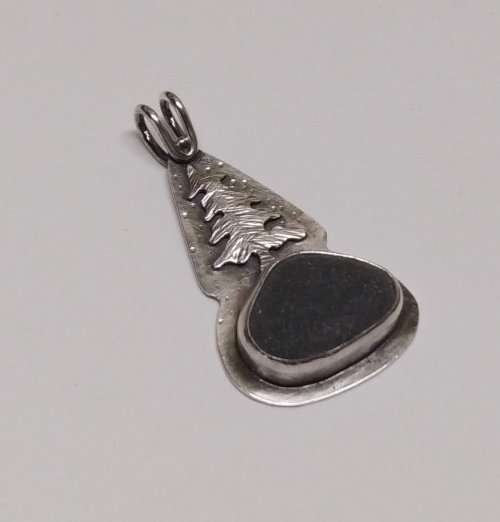 Pine Trees, Animals, and Mountains Templates
 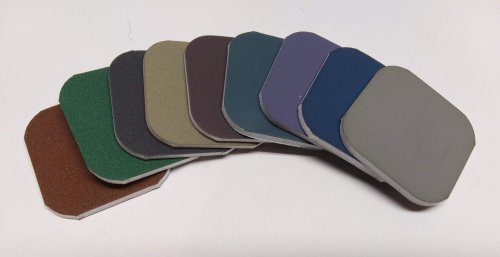 Using Sanding Sponges and Papers
 Closing Rings Tightly for Soldering
 Squaring Wire Ends
 Ring Mandrels
 Tool Tip - Bench Brushes
 Scrap Wire Twisted Rings
 Tool Tip - Soft Bristle Metal Brushes
 Project Multiples - Calibrated Cabochons
 Mobius Pearl Drop Earrings
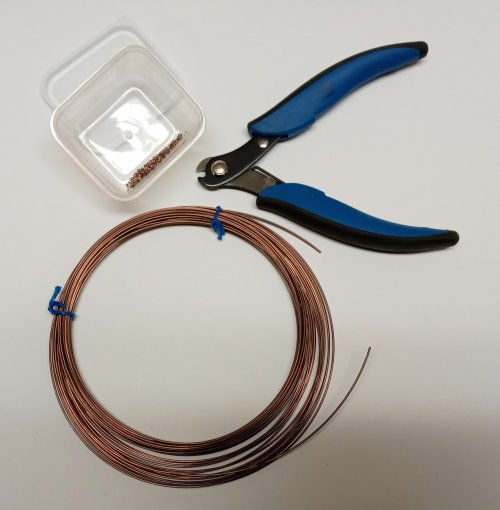 Copper Wire Solder
 Large Dapping Punches and Alternatives
  Project Multiples - Glass Pebble Cabs
 Project Storage
 Tiny Bead and Findings Storage
 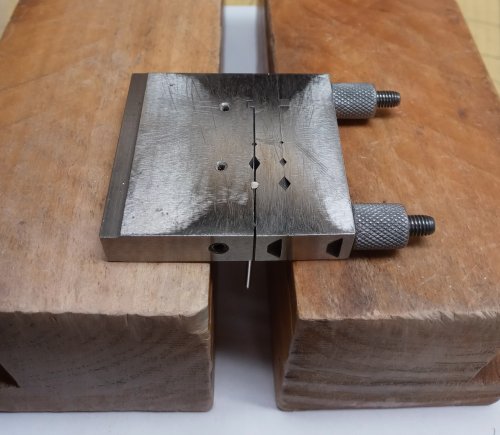 Working Smart
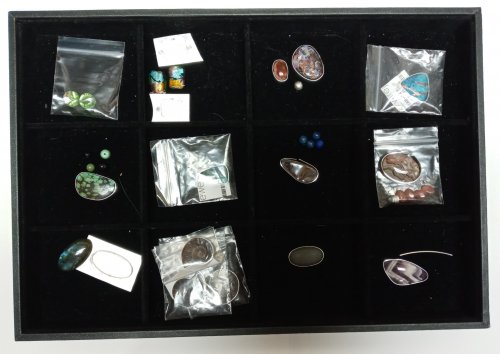 Display Trays as Storage
 Making TIny Leaves
 Adapting a Tutorial
 Build Better Bead Storage
 Using Magical Crimping Pliers
 Add a Touch of Gold
 Make a Lacy Argentium Scrap Metal Sheet
 Birch Bark Texture
 Versatile Snap-on Bails
 Bead Cap Primer
 Using Glue Sticks with Printed Templates
 Choosing a Lake or Riverstone
 Do a Facebook Collaboration
 Shielding a Jewelry Piece When Stone Setting
  Some Ideas Are Right in Front of You
 Curving and Scrolling Wire
 Using Snapsets to Add Sparkle to Your Work
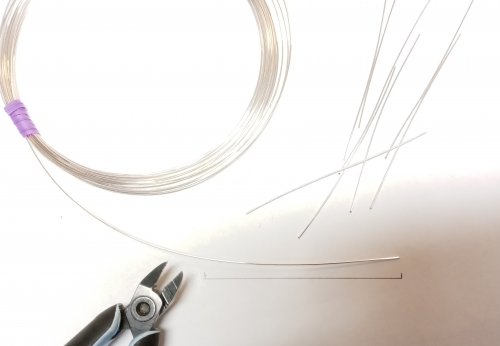 Cutting Wire Multiples of the Same Length
 Separating Distinct Textures on a Single Piece of Metal
 Changing the Size of a Pearl
 Easy Ring Cleaning
 Add a Bit of Dimension
 Keeping Projects Separate
 Tumbling and Polishing Metal Beads
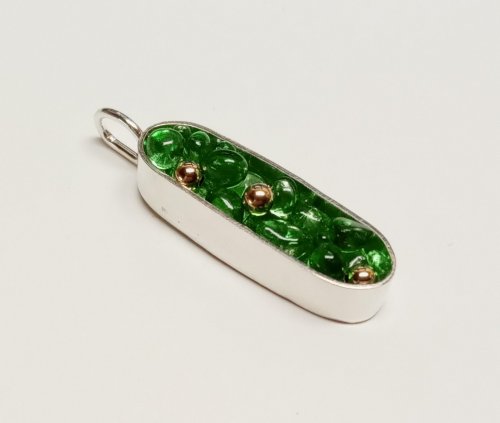 Unexpected Jewels
 Saws and Turning Radius
 Flattening Metal Pieces
 Mobius Ring Spacers
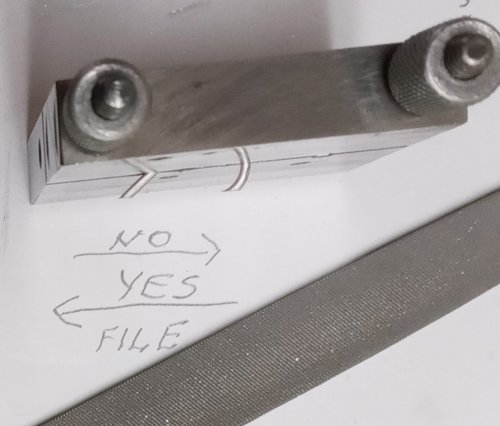 Filing Angled Wires in a Jig
 Storing Handmade Elements
 Simple Way to Straighten Wire
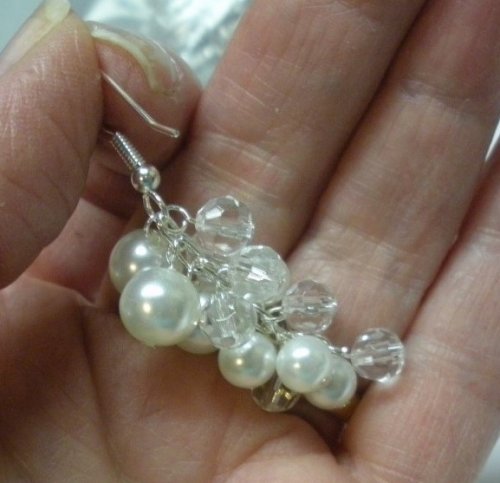 Two Ways to Make Simple Loops
 Making SImple Eyepins
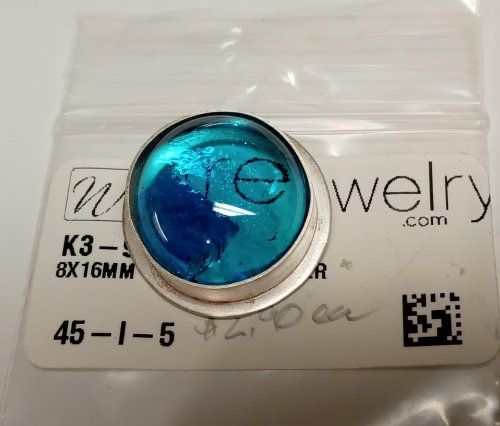 Using Fun Tak as a Resist
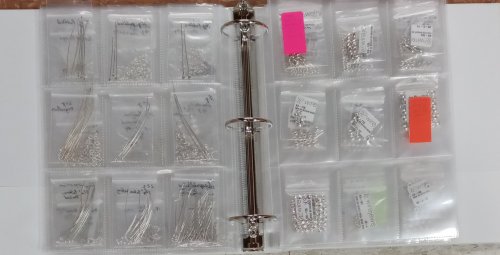 Why Use a Binder to Store Embellishments
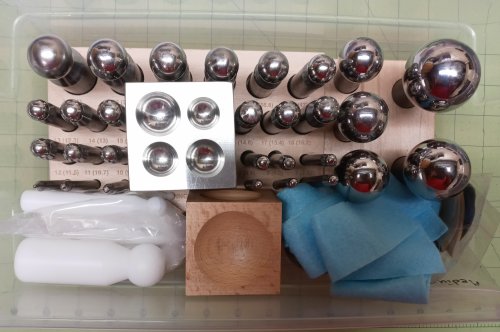 Storing Dapping Blocks and Punches
 Wire Basics - Opening and Closing Jump Rings
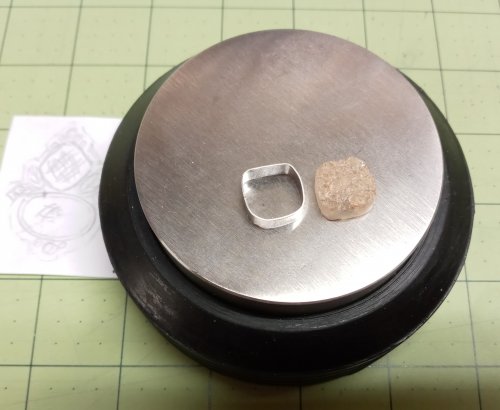 Enlarging a Bezel
 Leaf Inspirations
 Earring Findings for Different Ages
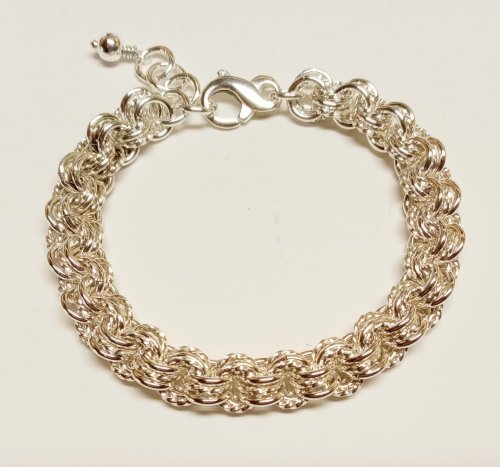 Accidentally Learning Something New
 Fusing Jump Rings
 Tool Tip - Divided Caliper Scribe
 Out of the Mouths of Babes or Fixing a Spinning Bracelet
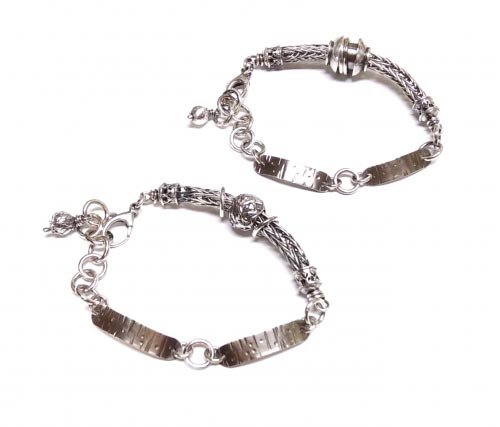 Rethinking a Design
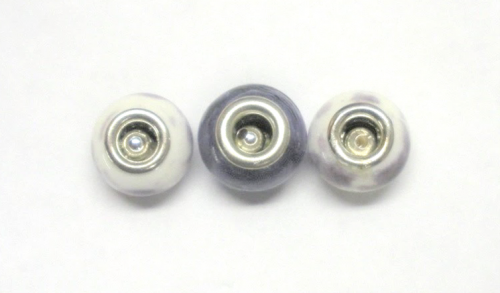 When Bead Holes are Too Large
 Soldering a Dome to a Backplate
 Eye of Shiva AKA Pacific Cat's Eye
  Ribbon Wrapped Bracelet tips
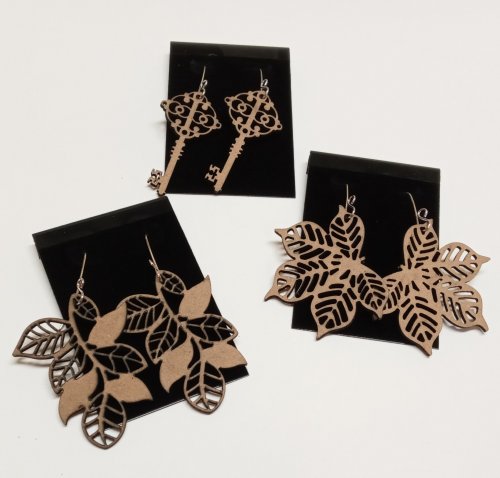 Making Lightweight Earrings with Unexpected Finds
 Tool Tip - Indispensable Tapes
 What Happens To Pearls Not Worn, Cleaned, and Stored Properly
 Aha Lightbulb Moment
 Adding Loops for Dangles on a Classic Wire Bezel Wrap
 After the Rain - Found Treasures
 Back to School
 Bezel Solution for Corners and Points
  Filling Holes in Stones
 Dots to the Rescue
 Raising Stones in Bezel Settings
 Leveling the Bottom of a Large Bezel
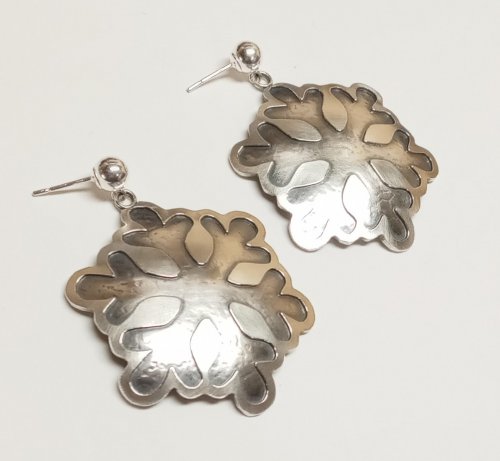 Using Leftovers
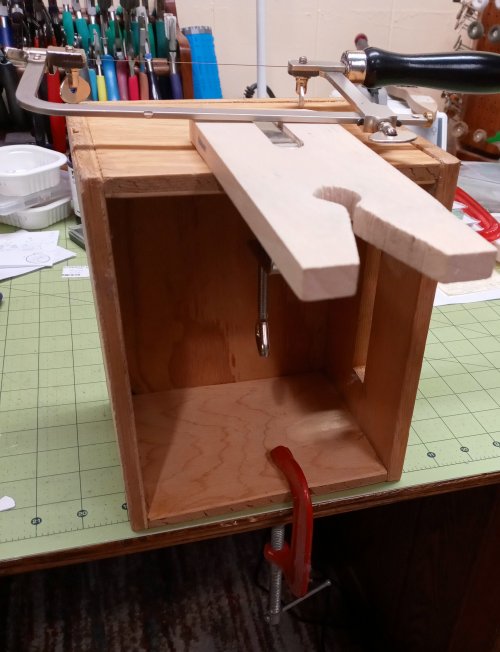 Make-do Sawing Solutions
 Combining Tutorials
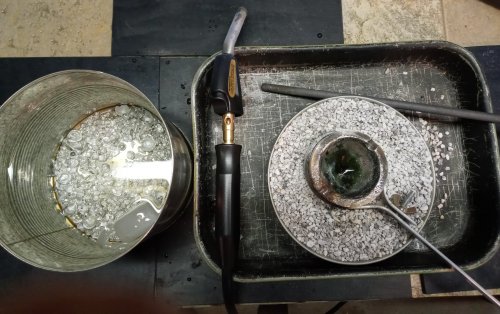 Scrap Melt
 What's Your Jewelry Style
 Using Wax from Braces
 Sometimes Simple Really is Better
 Opening and Closing Jump Rings
 Bead Soup and Small Changes
 Repurposing Sterling Cord End Findings
 Wire Wrapped Bail Finishing Options
 Protecting The Back of a Piece When Setting Stones
 Altering Your Dapping Block
 Trimming Around a Bezel
 Making Tiny Dapped Metal Leaves
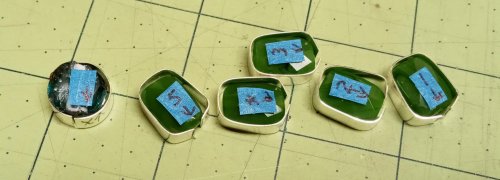 Labeling Cabs When Working with Them
 Basic Round Well Wood Dapping Blocks
 Get Inspired by What's on Your Bench
 When Things Go Awry
